by Paul Martin
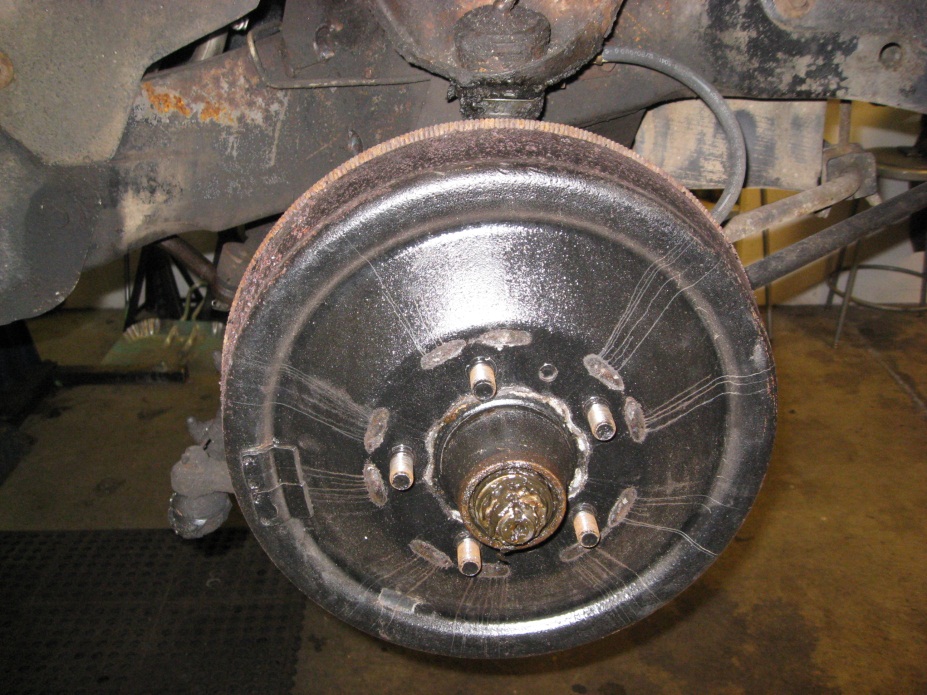
The front drums on my 300F had to go. They were designed for driving in Kansas, not Vancouver BC. The car is mostly original so the decision to modify the car from stock was for safety reasons. |
|
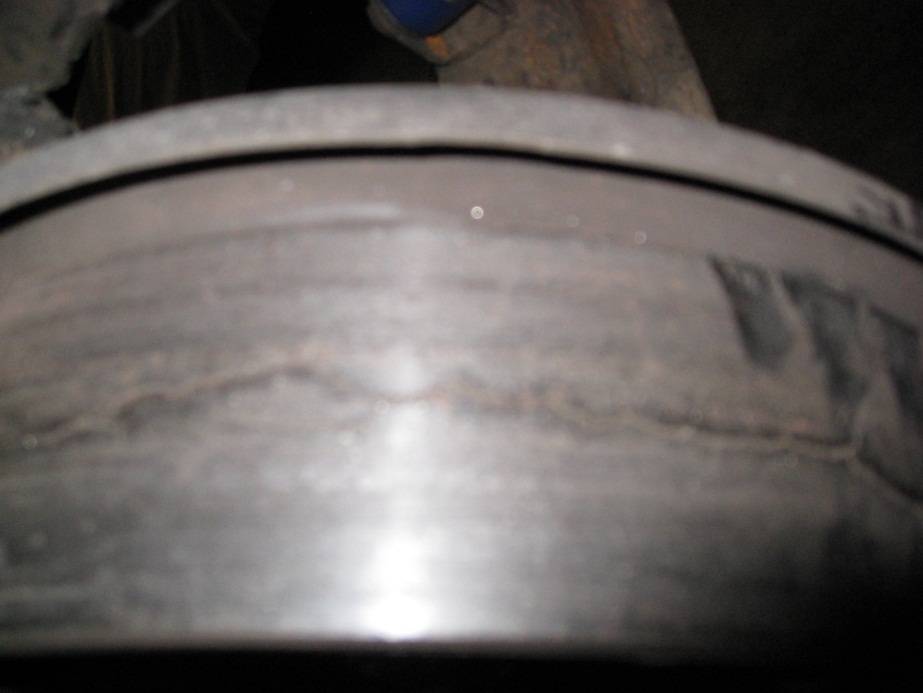
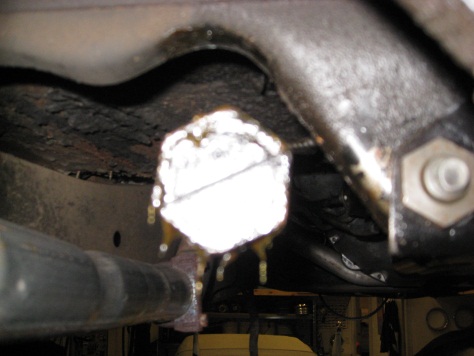
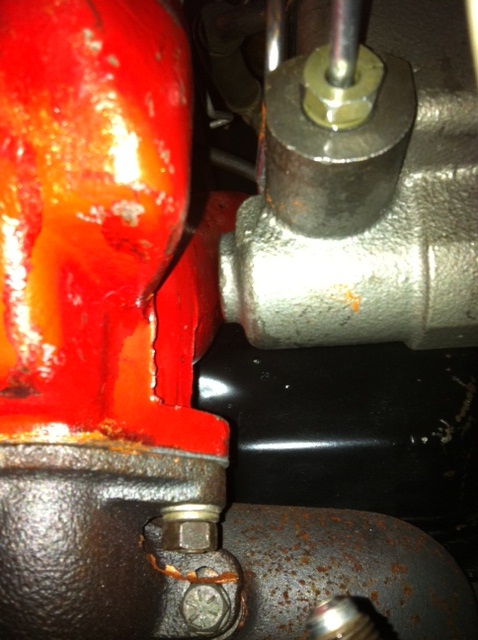
After only 1000 miles the crack looked like the San Andreas Fault:
|
|
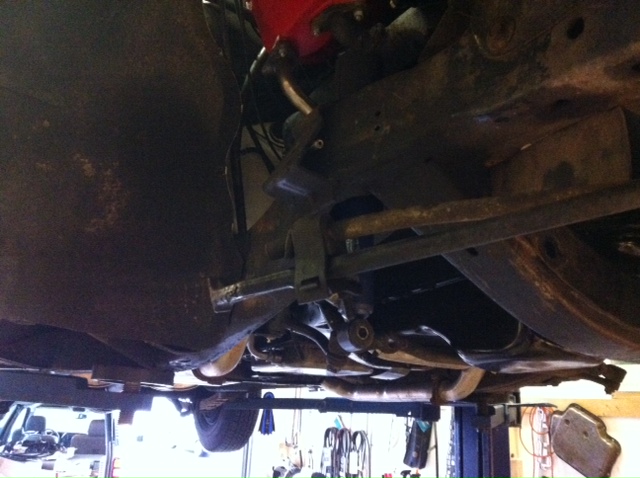
The easiest way to tackle the full job also included removal of the drivers side ram and carb. The battery and tray were also removed. Having a hoist to work on the car helped. |
|
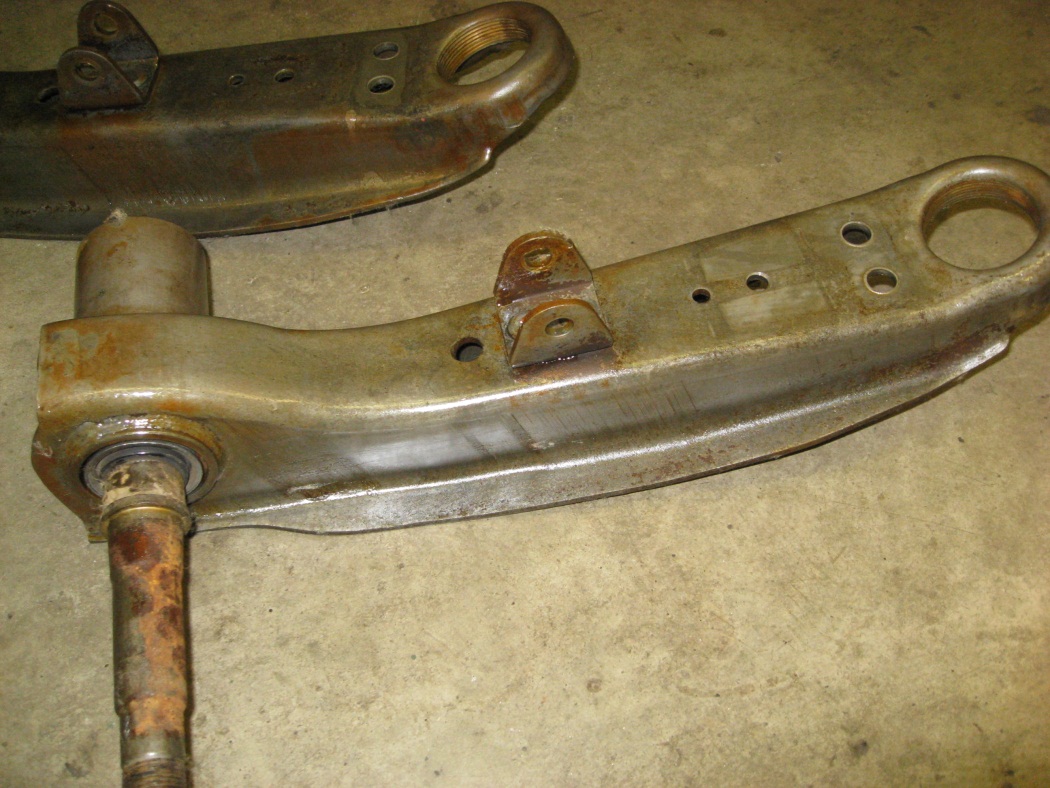
In conjunction with the conversion I decided to rebuild the 52 year old front suspension. It had accumulated a little grease over the years and it had set up like cement. The crud had to be cut off with a knife and then soaked in degreaser for 48 hours to soften. Next step was a pressure wash to get all parts clean. Then the magic bath in malt vinegar to remove all rust. |

|
This is what the lower control arms looked like after the vinegar bath. I wanted an unrestored look to the parts so they were sprayed with Boeshield T9.
|
|
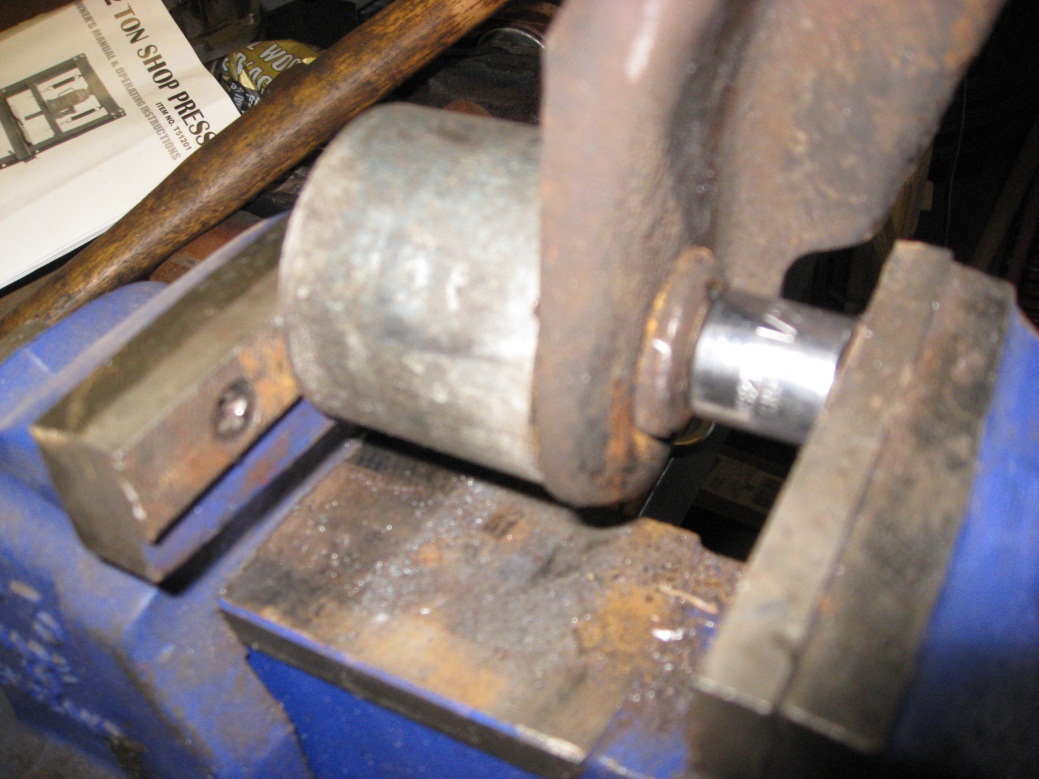
The upper control arm bushings were removed with the aid of a bench vise, 2.5 inch steel pipe and a socket. Easy out! I used the hydraulic press for the install. |
|
Photos were taken of various parts for indexing upon installation: |
|
With parts clean, new bushings
installed it was time for re assembly.
|
|
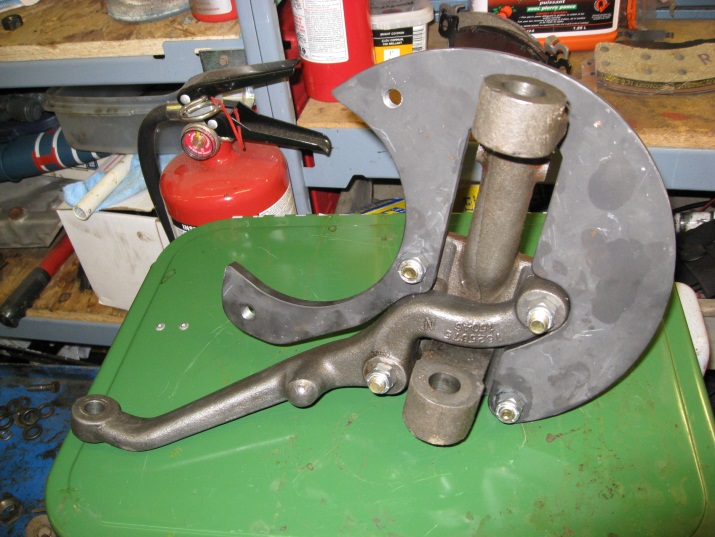
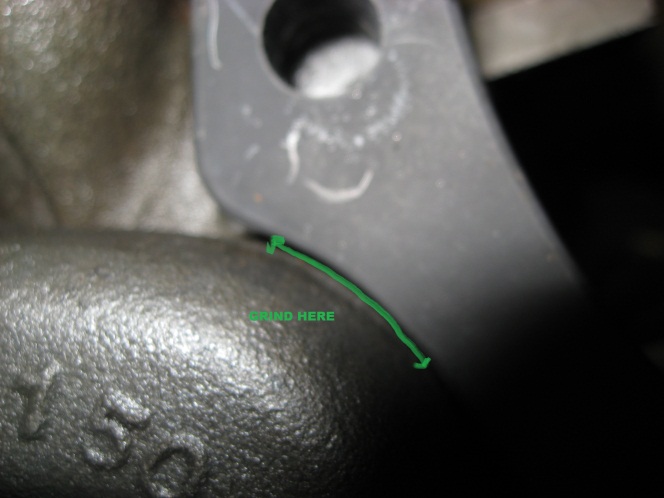
The passenger side did not line up. |
|
The
knuckle on the pass side had too much casting |
|
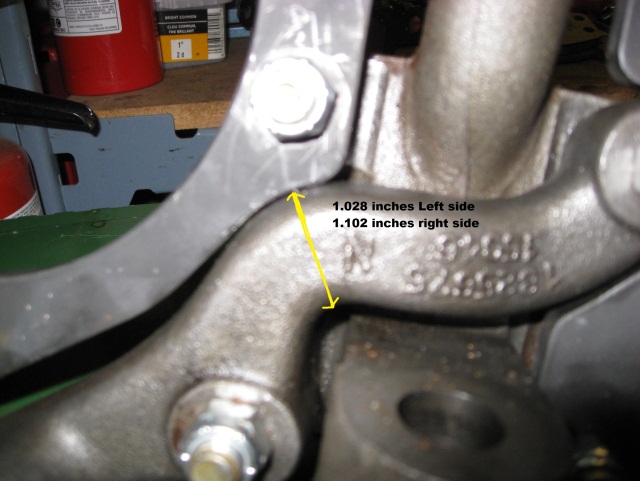
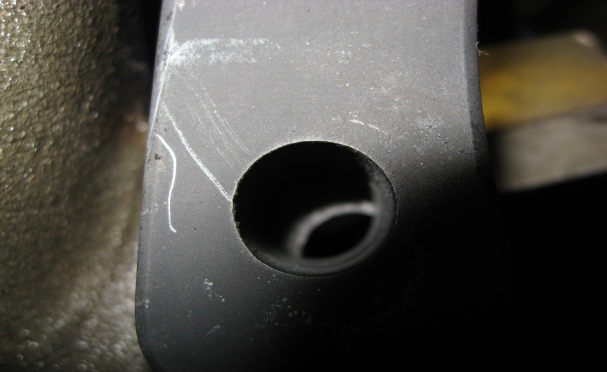
Some grinding had to be done to remove the excess. It was better to trim the knuckle rather than the adapter plate. |
|
Ground down area: |
|
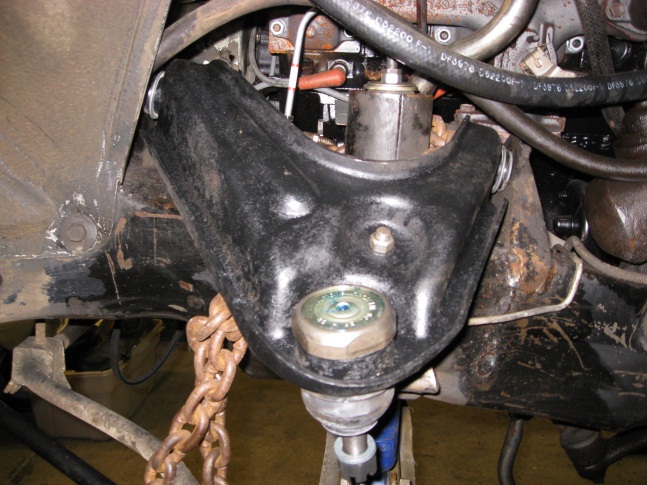
With suspension components in place the new assembly was ready to mount. The upper control arm was a replacement from JC Auto as my original had the ball joint treads damaged. |
|
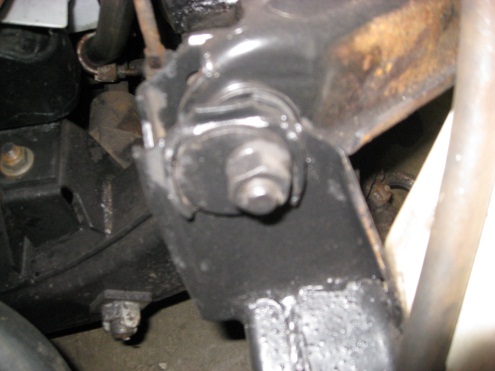
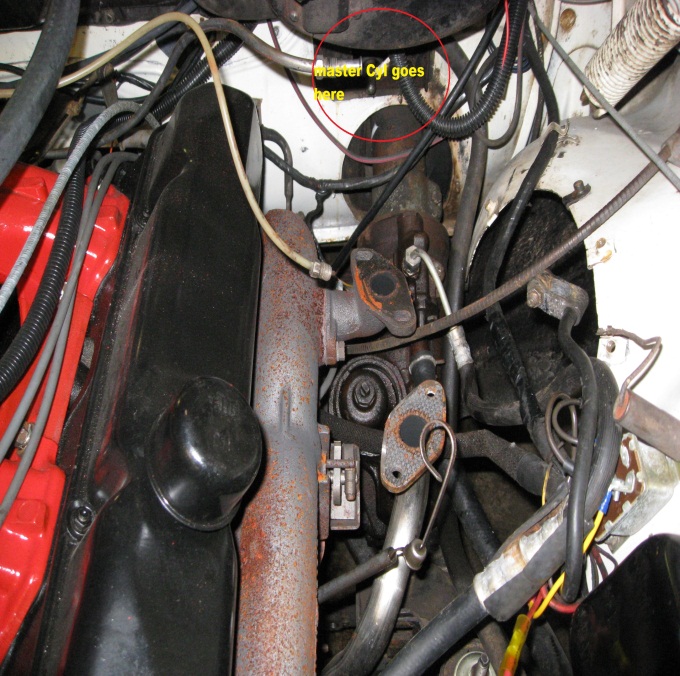
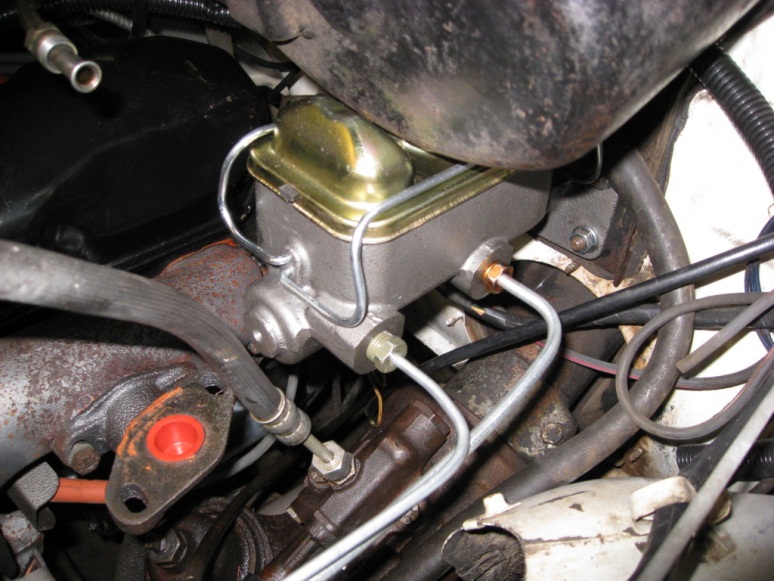
The master cylinder was the next task. The ram manifold HAS to be removed to get this part of the job done right. |
|
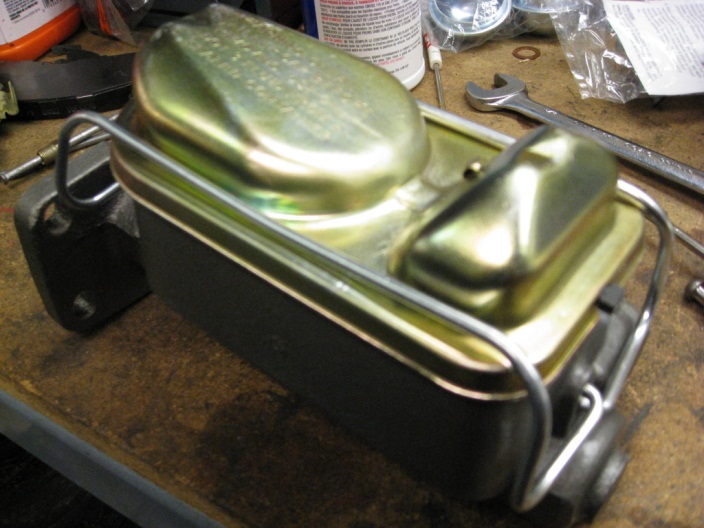
AAJ provided a modified MOPAR |
|
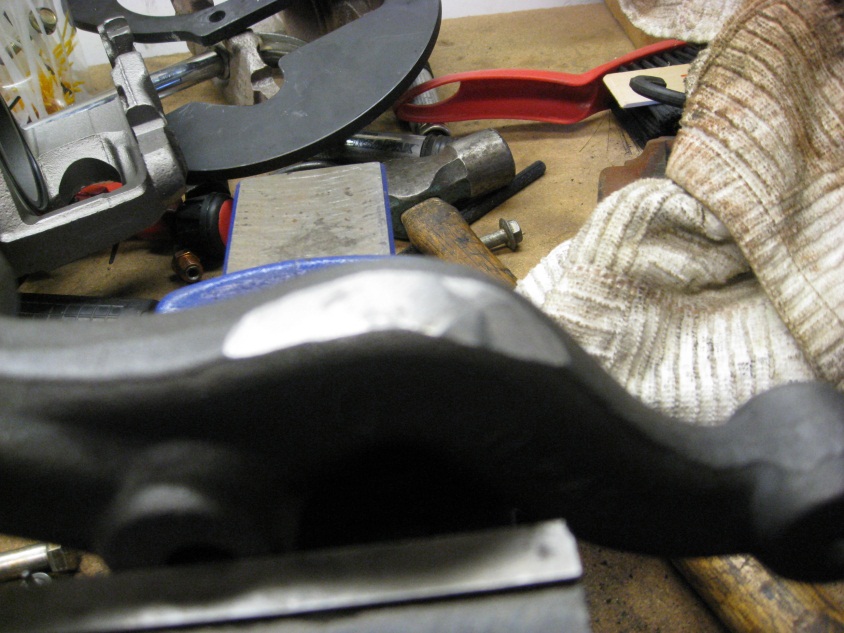
I still had to elongate the holes to drop the cylinder down 1/8 inch to clear the cap for removal. |

|
Can you say tight fit: |
|
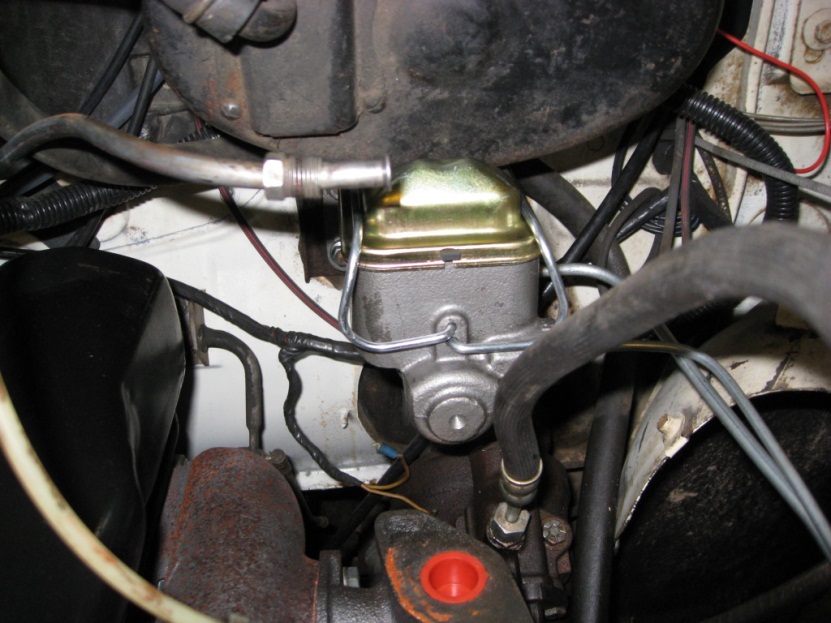
With the manifold installed: |
|
The only thing not provided in the AAJ kit are the steel lines. After bending and flaring and making sure there was plenty of clearance. These required a lot of re tightening before all seeping stopped. |
|
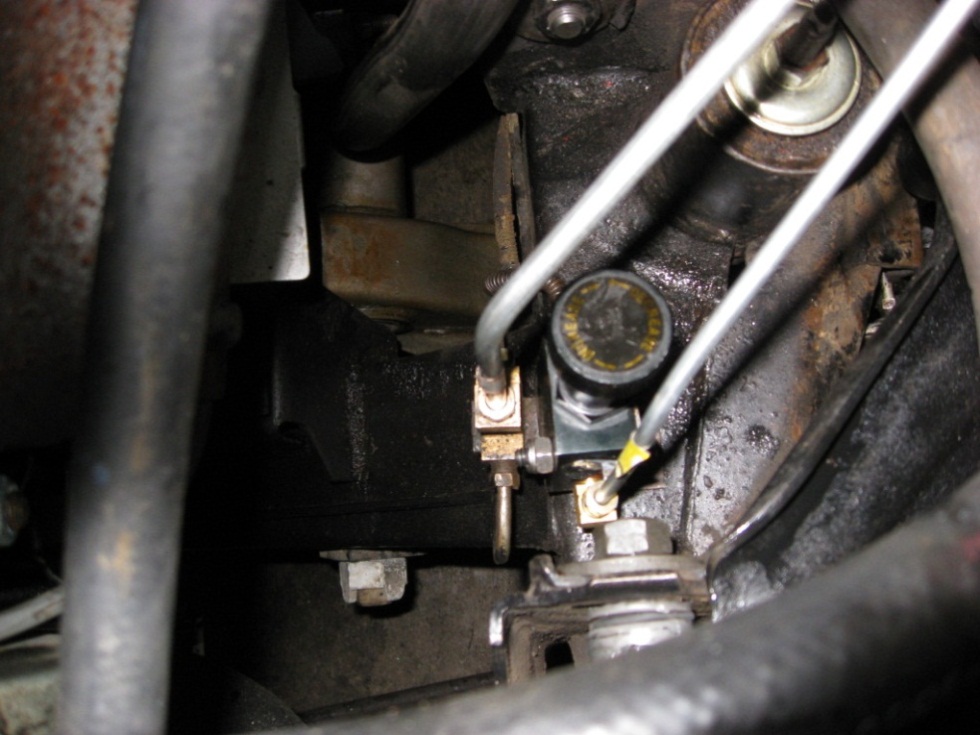
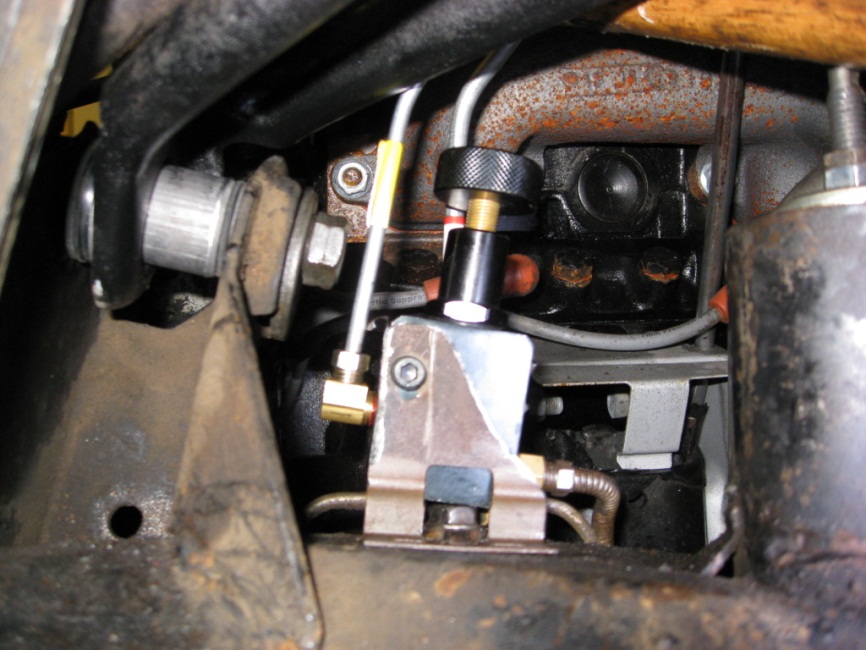
The proportioning valve supplied was mounted near the original junction block and plumbed accordingly. This view was taken with the battery and tray removed for easier installation and access |
|
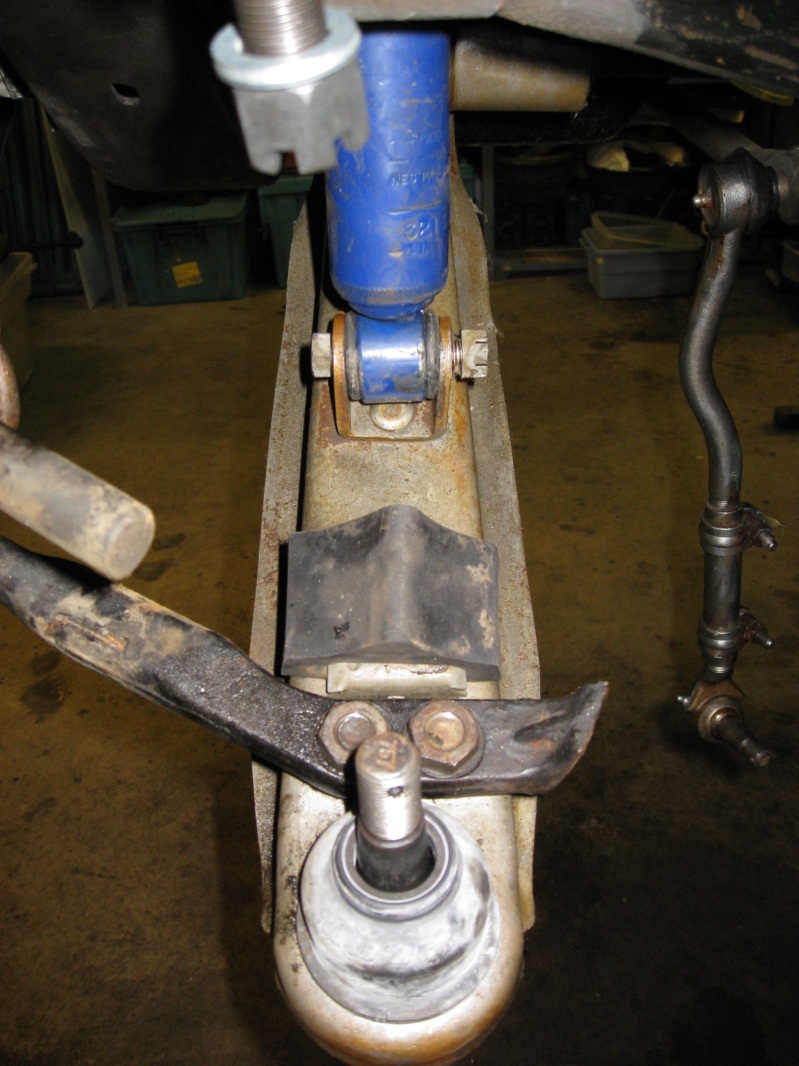
A view from the wheel opening shows the line routing, the bracket was fabricated. |
|
The finished and installed setup showing wheel clearance: |

|
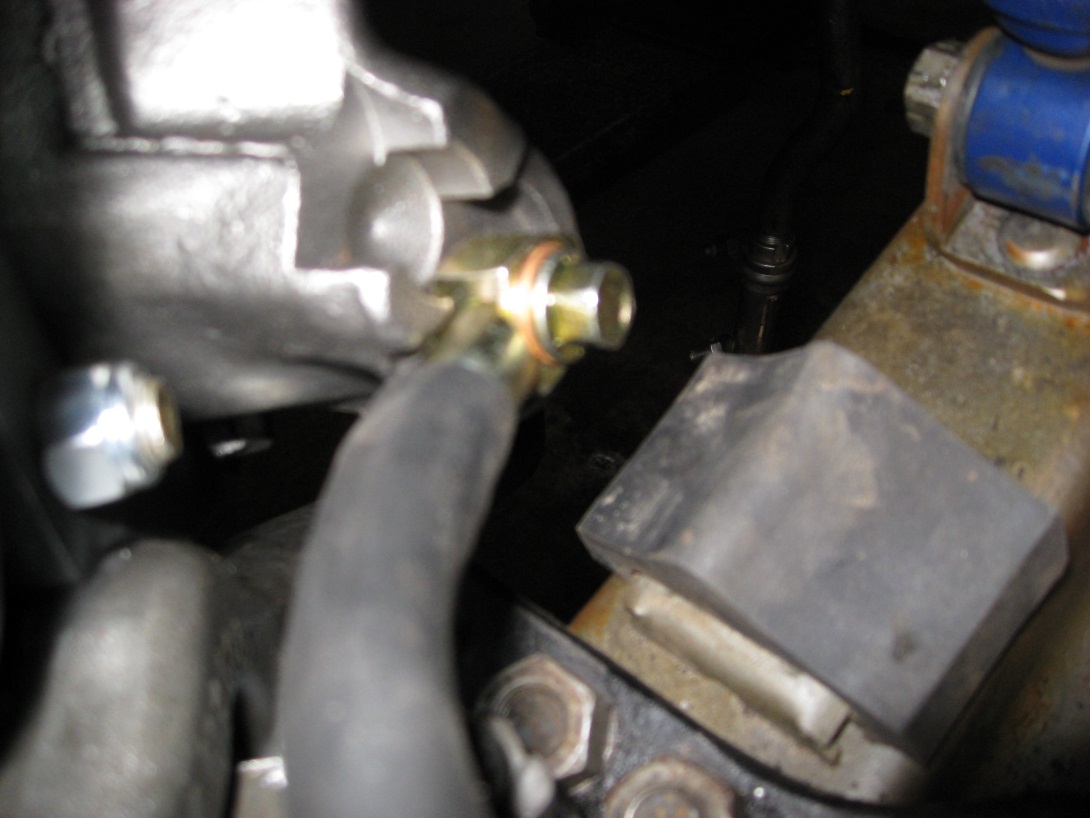
I rerouted the flex hoses from the calipers to achieve a better angle for the lines. A small amount of the caliper had to be ground for this. |
|
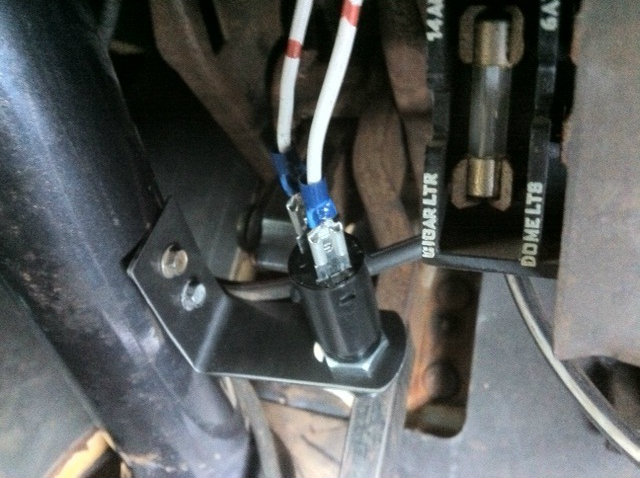
The brake switch had to be re located to the inside of the car and attached so it could be activated by the brake pedal. I attached mine to the steering column sleeve using short blunt head screws. |
|
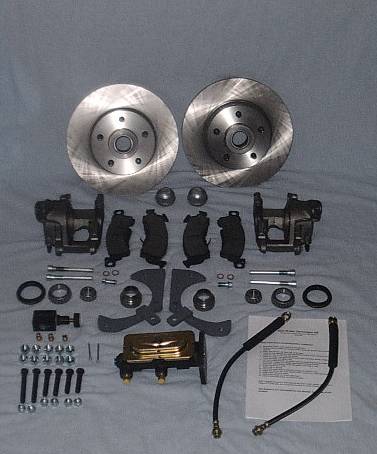
Here is a photo of all components supplied from AAJ.
The final modification I had to make
involved trimming the original spindle nuts
about .30 thousands to
allow fitting of the cotter pin and cage.
Portland, Oregon
(503) 890-1469
http://www.aajbrakes.com/
Back to tech index