|
Feb 18, 2016
Save The Brake Adjuster Plate
John Grady writes:

Here is a picture of the front brake assembly. 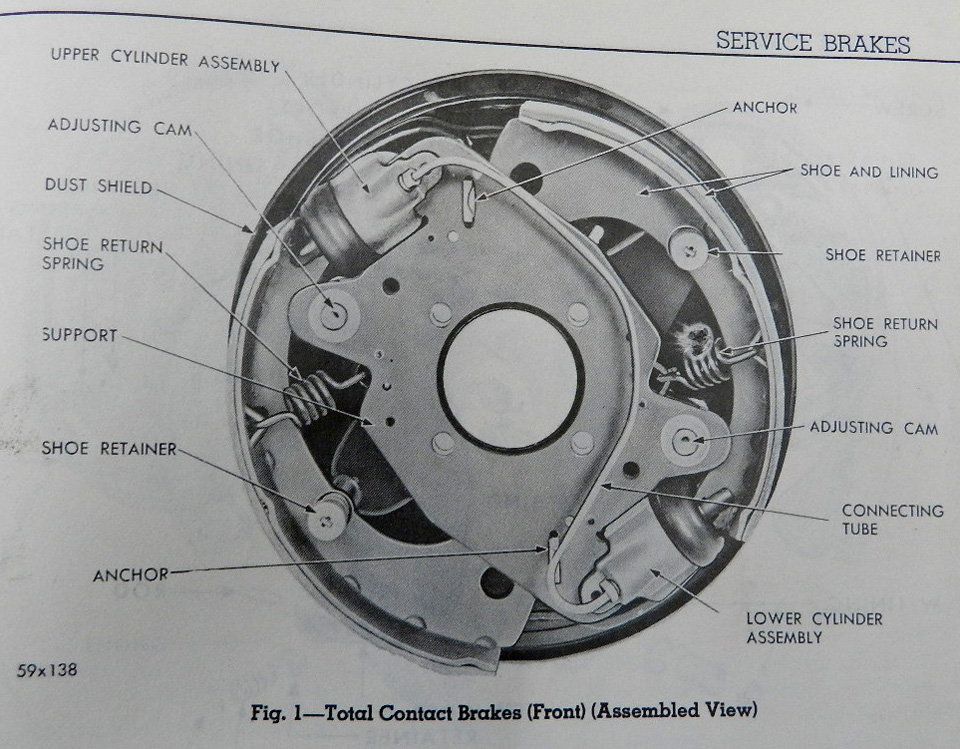
Today we are working on a front brake. If you were to disassemble the brake system, here is the other side of the adjusting cam plate. You can see that the adjuster stud is compromised. You may have to heat with reasonable propane to free it, use really big vise grips as in 12". This one was rusted solid; used 75 W axle oil in it. 
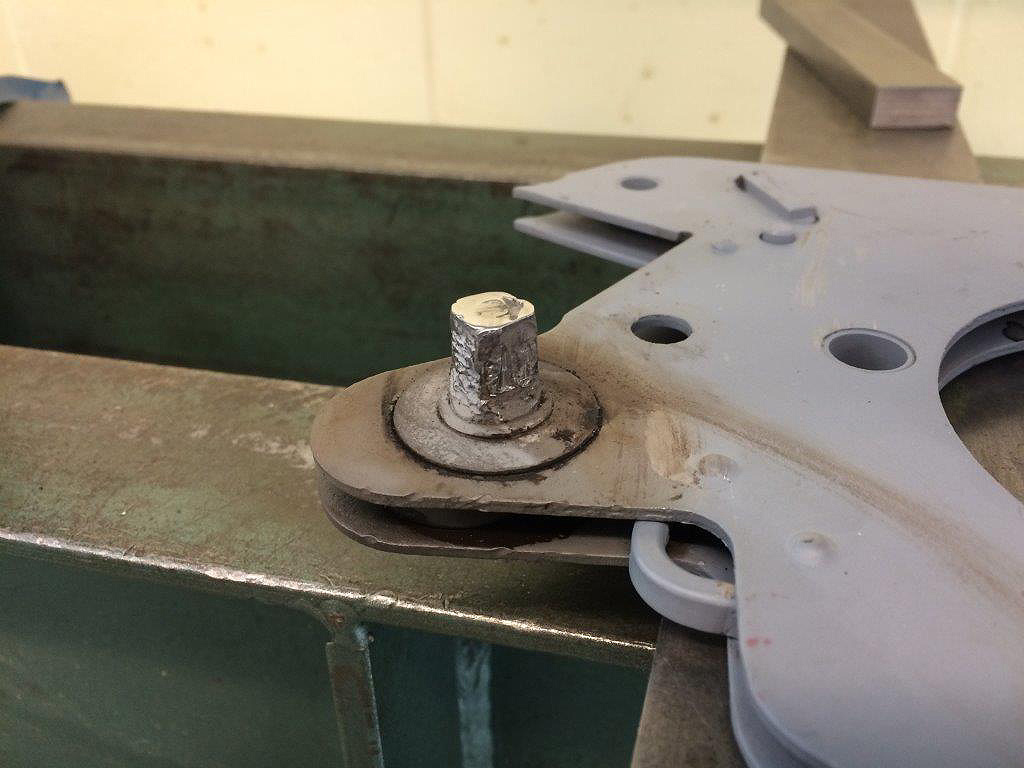
We pressed a 1/2" nut onto the stud. 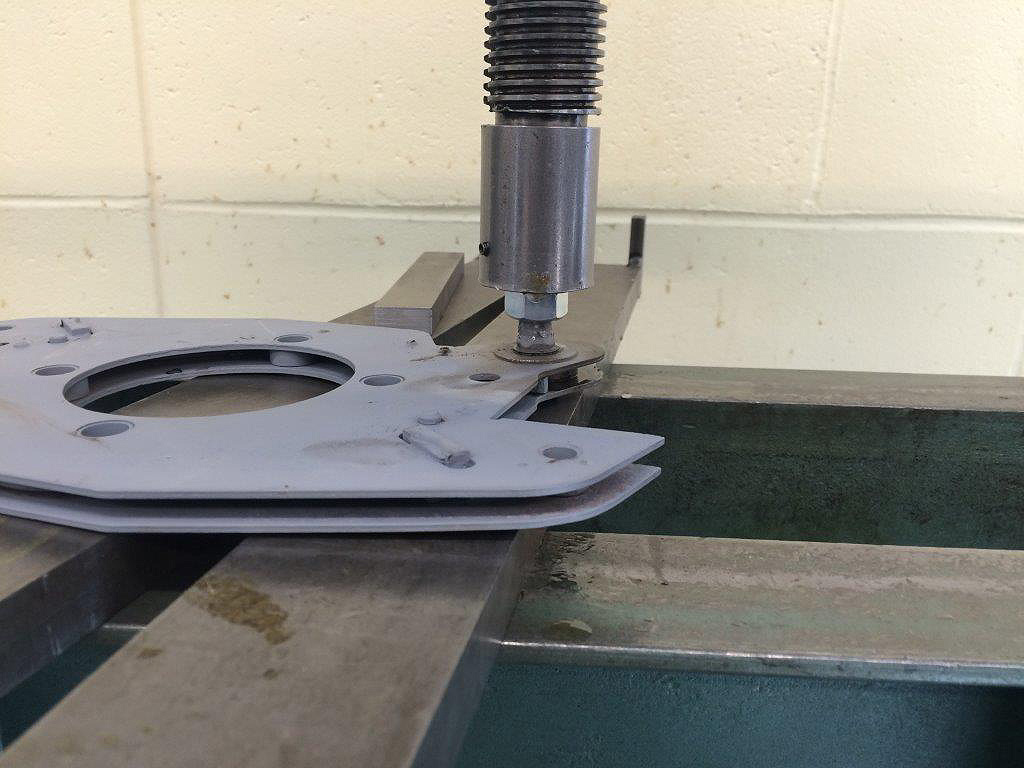
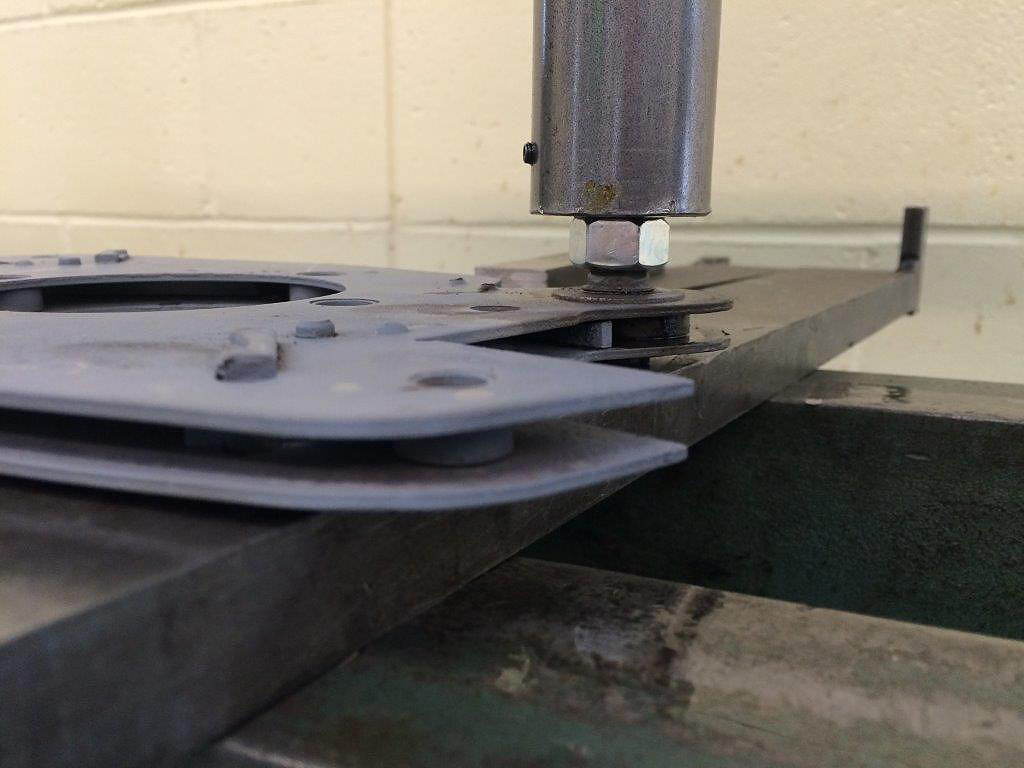
Weld with ground clamp on nut only (current through plate will ruin cam). 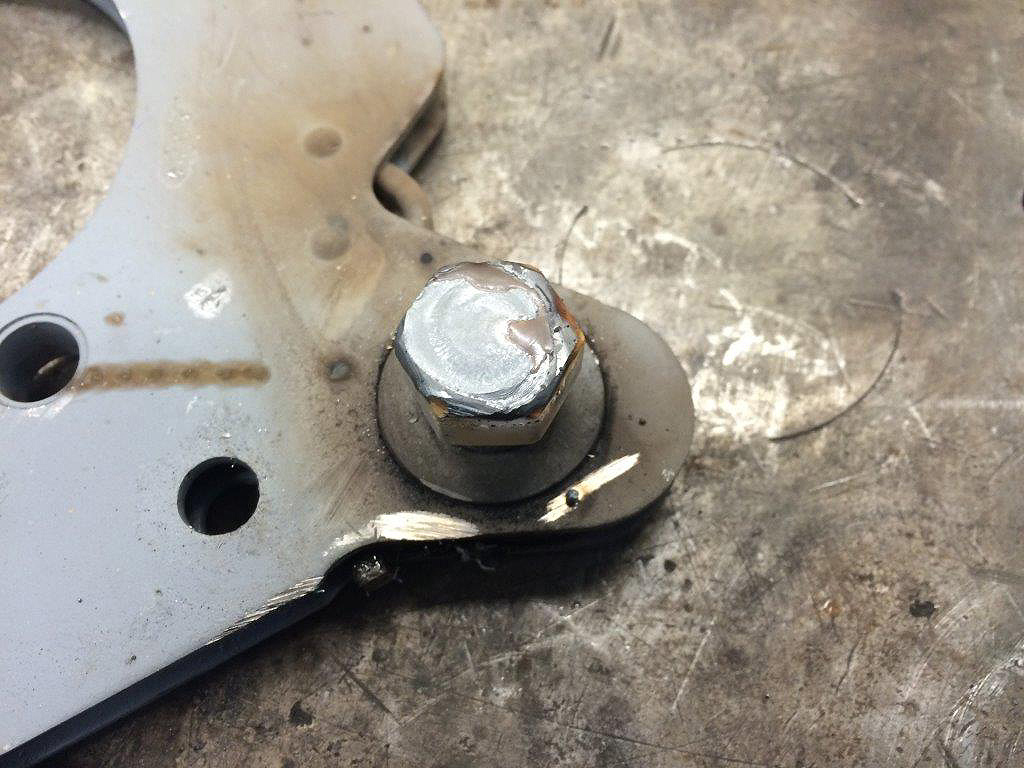

Open backing plate hole with electric conduit Greenlee punch is the thinking. We are looking at making split rubber washers to snap under nut to close hole in backing plate keep water out. Important: Be sure the flat “spring like” looking spring anchor (which holds the other end of the red brake spring, the end away from the shoe) is in position correctly and properly inserted. It is easy to assemble it wrong, and this is not clear in service literature. The hooked end actually must wrap around the rivet like shape, or short round rod, spanning between the two plates, which make up the whole factory assembly. 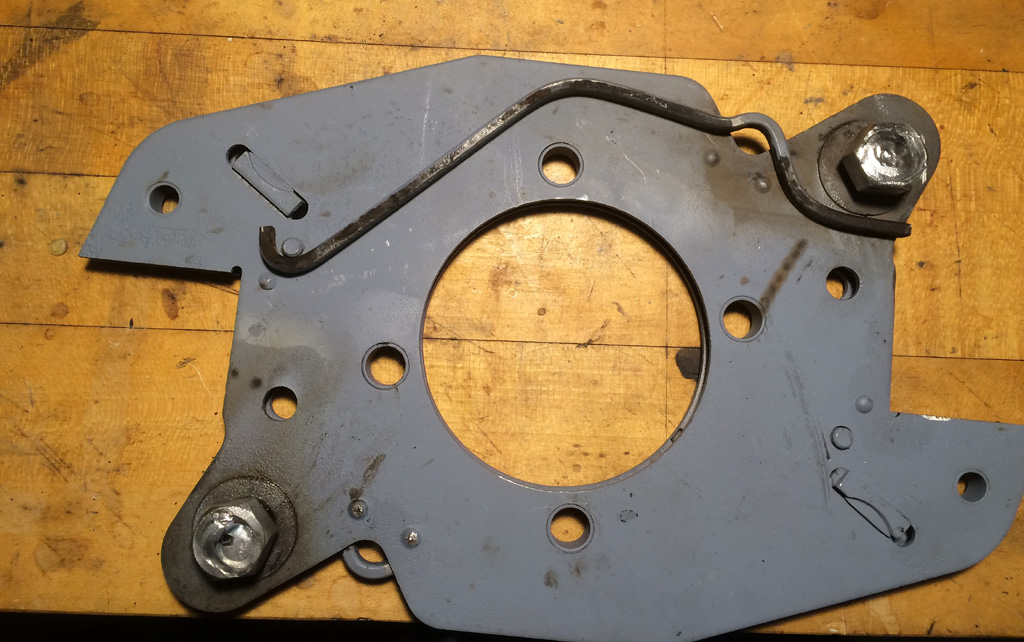
Do not hook on the “dimples” nearby. The other end of that anchor, the flat straight end,
goes “behind the cam” with brake shoe on other, front side of cam.
The idea here is the anchor, brake spring, and shoe all move together as you adjust cam, keeps a constant return tension, about 55 lbs, at spring to lift off, as cam is squeezed between shoe and spring retainer all the time by the brake spring.
By the way, in that rest state, nothing is trying to make cam “turn by itself ."
It can be assembled (unbelievably) with that flat spring retainer slid under the brake shoe, both of them in front of cam.
I have seen that before and nothing works then. Jamming and grabbing results.
As the shoe wears, the rest position of hydraulic piston is out more,(normal)
but spring stays that same tension (pedal drops, then master
readjusts itself for slightly more at rest fluid in wheel cylinder, = pedal stays up).
In those days a visit to the dealer every 2-3k miles would result in routine cam adjustment = perfect pedal for next 2-3k.
No seizing of cams.

|