|
When
I drove my 58, the needle on the temperature gauge would sometimes
stay on cold long after the engine was warm. Then the needle would
jump up and read normally. I changed senders three times. I checked
 the wire to the sender and it is perfect. I soldered a wire from the
gauge to a dash ground. I installed a new temperature gauge. The
needle did same thing – stuck on cold and then jump up to
normal. I decided to get to bottom of this.
the wire to the sender and it is perfect. I soldered a wire from the
gauge to a dash ground. I installed a new temperature gauge. The
needle did same thing – stuck on cold and then jump up to
normal. I decided to get to bottom of this.
These
electromagnetic gauges work by balancing the magnetic pulls from two
coil magnets against each other. When there is a difference in
magnetic pulls, the pointer moves. With this system, if car voltage
goes up or down it does not impact that difference and no voltage
regulator is needed (*). It is delightfully simple.
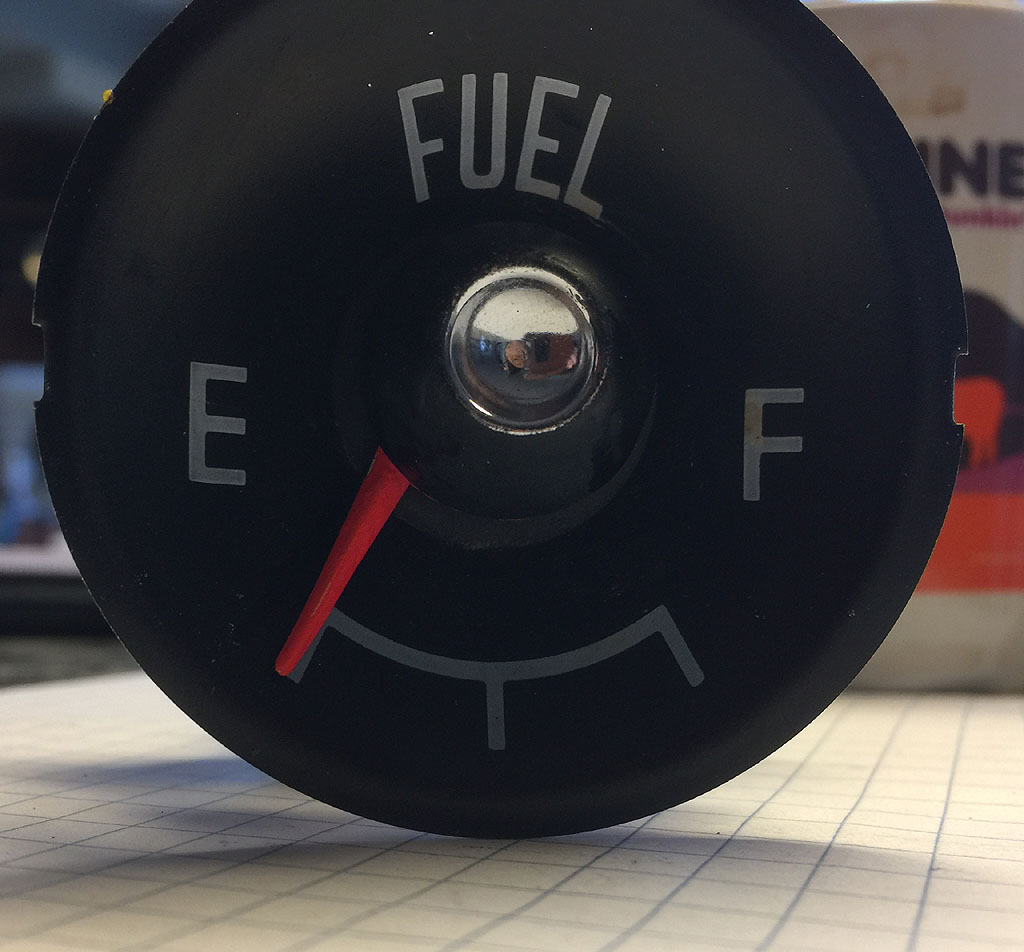
The
car side voltage coil pulls the needle toward C and the sensor coil
pulls the needle toward H. (For the gasoline gauge, the car side
voltage coil pulls the needle toward E and the sensor coil pulls F.)
Knowing this and that gravity also plays a role, (there is a weight
on the needle to move it to C when the ignition is off) I was
confident I know how it works.
I found that on some gauges the intended stop of the needle on the C
side is assembled wrong and allows the needle to go a bit below C.
When that happens, the coil on the sender side simply cannot pull it
out of that position so it stays on C even though electrically all is
perfect and the sender coil is in fact pulling. As I was driving
perhaps I hit a bump in the road but something jostled the needle
loose and it jumped up to read normally! Things are fixed until you
shut off the car and the needle goes into hiding again.
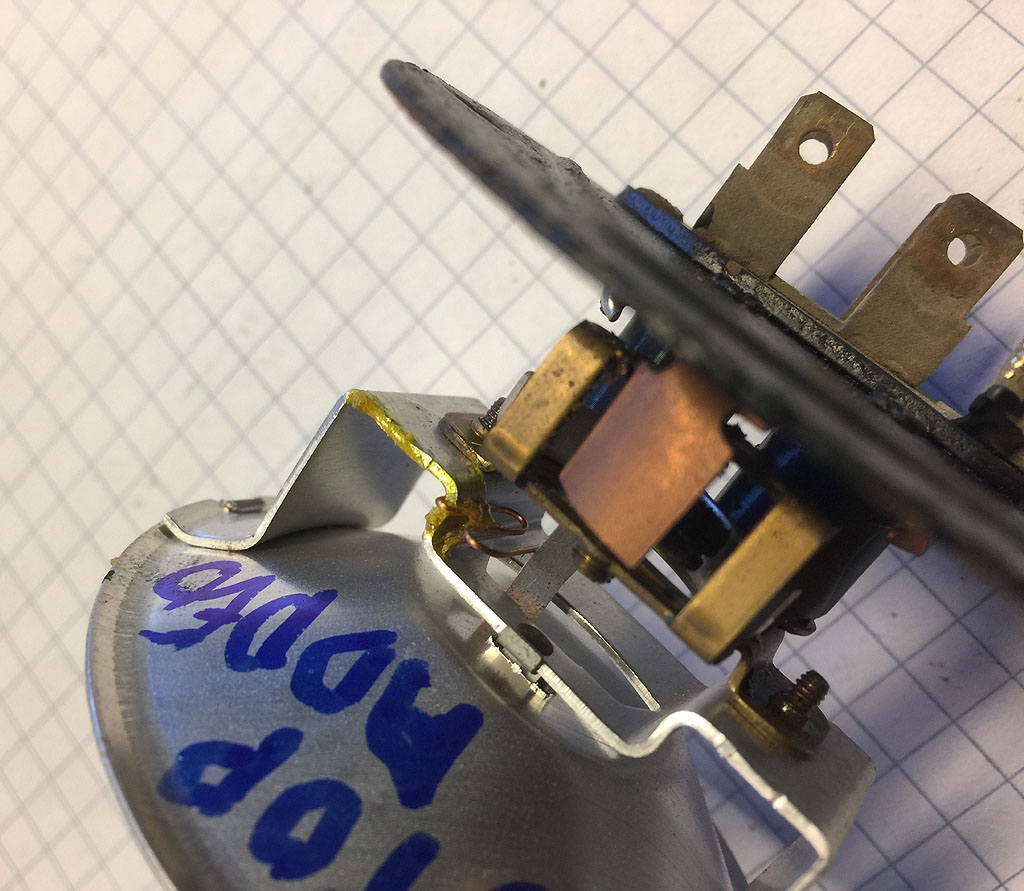
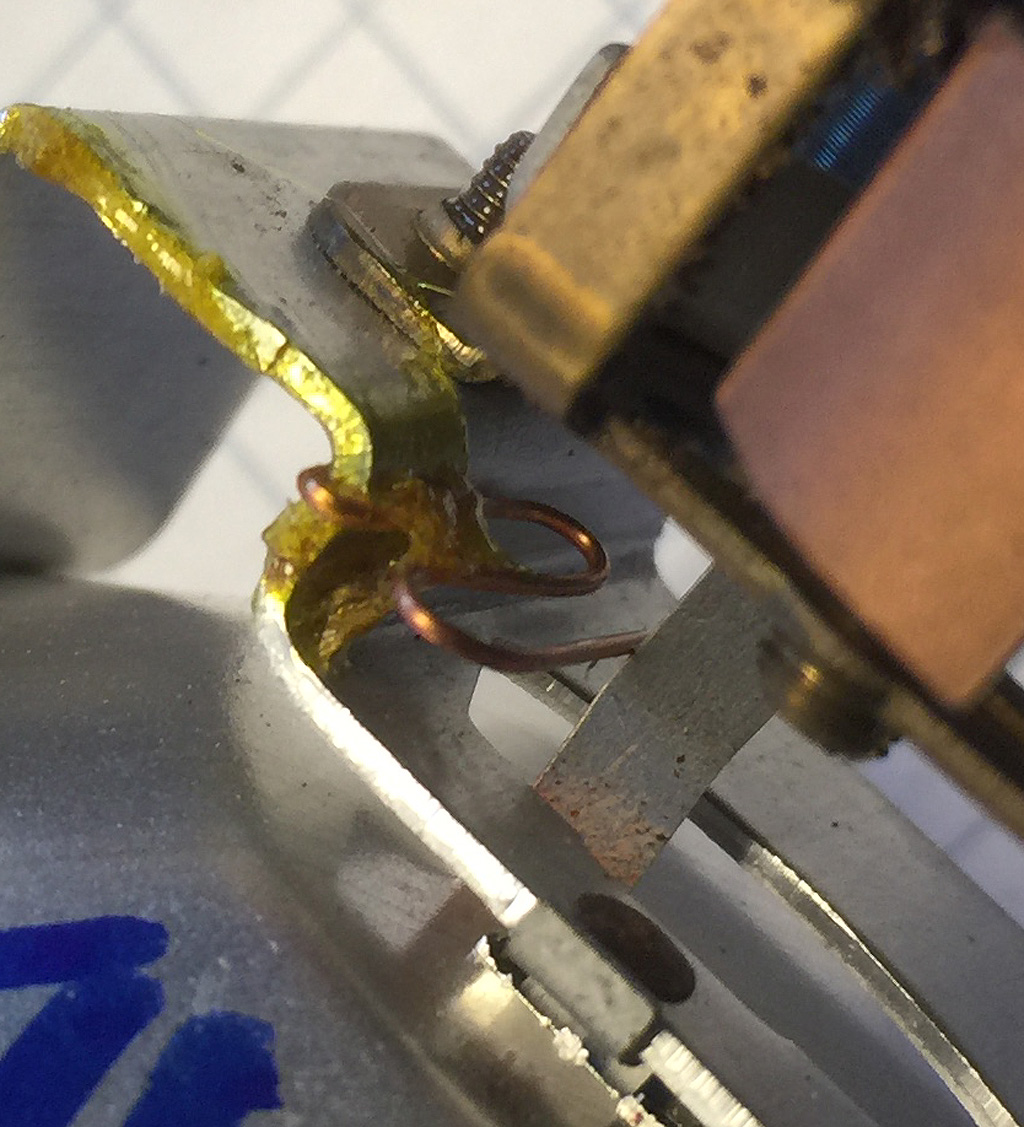
I decided to install a needle stop. I bent a piece of copper wire made
from a single strand of #12 stranded building wire into an M. The M
shape is so I could easily adjust it (see picture). I secured one end
of the wire over a part of gauge structure. After rough positioning I
secured it with a toothpick with 3M weatherstrip adhesive (love that
stuff). The next day I carefully bent the M to stop the needle right
on C and installed the gauge. Both gauges and all the senders are now
perfect!!!
Look carefully and you can see the M wire touching the aluminum of
the needle arm.
(*)
Gauges from 1960 up are called “thermal gauges” and must
have a voltage regulator. Their operation is different than these
electromagnetic gauges and is covered in the factory service manuals.
|