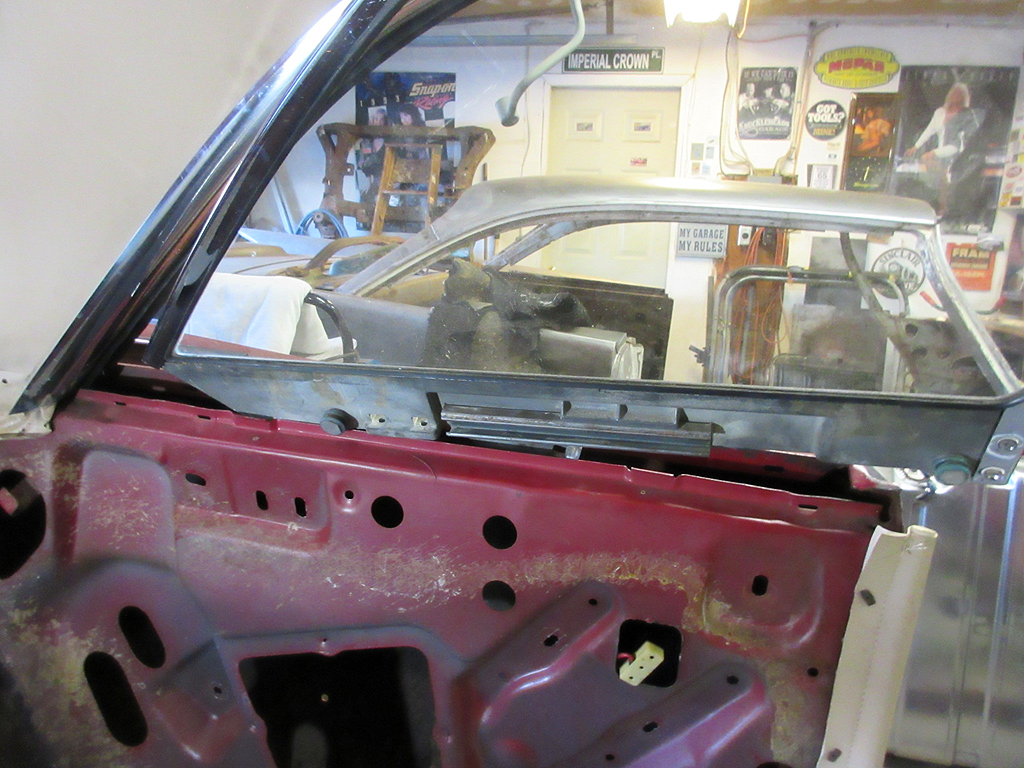
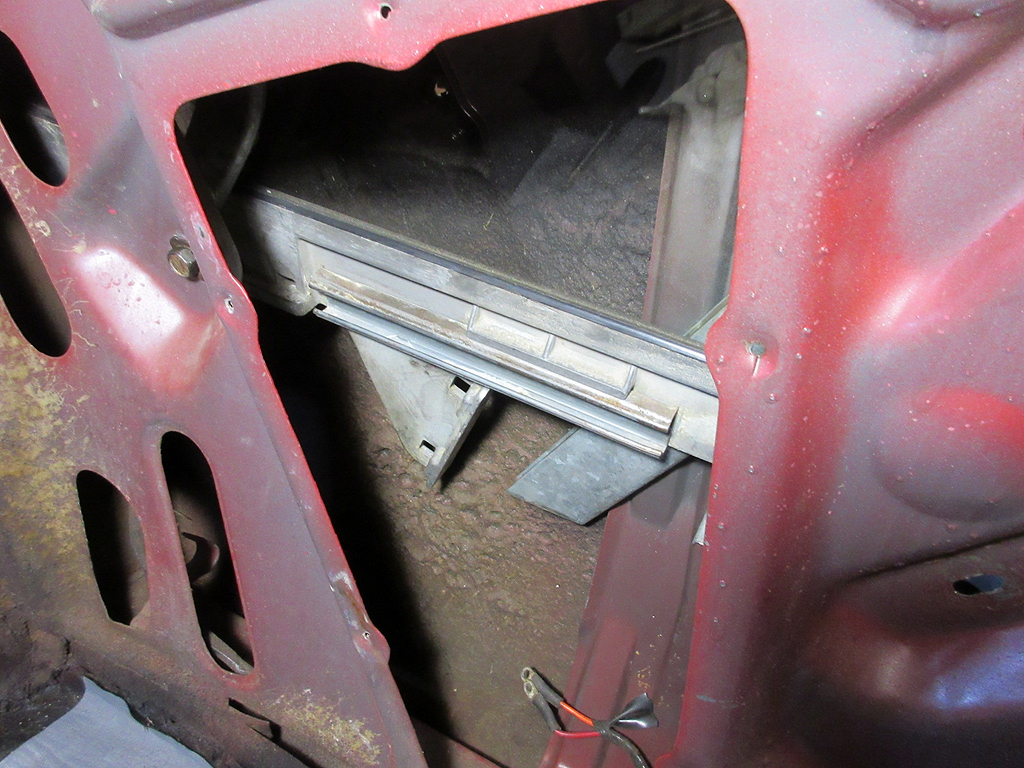
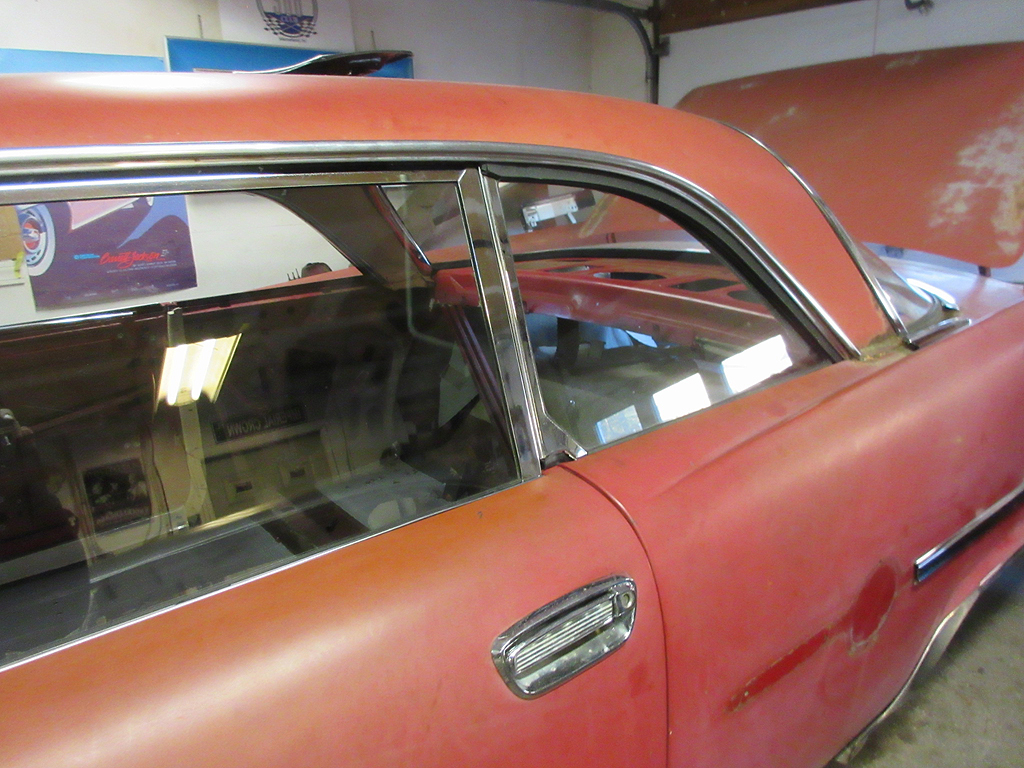
Picture 1 shows the position and angle of the glass to get it into the opening. The main reinforcement for the window slide is in place, but the slide has been removed to make room. It is held by two #3 Philips screws. The slide and up stop on the glass also has to be removed.
|
|
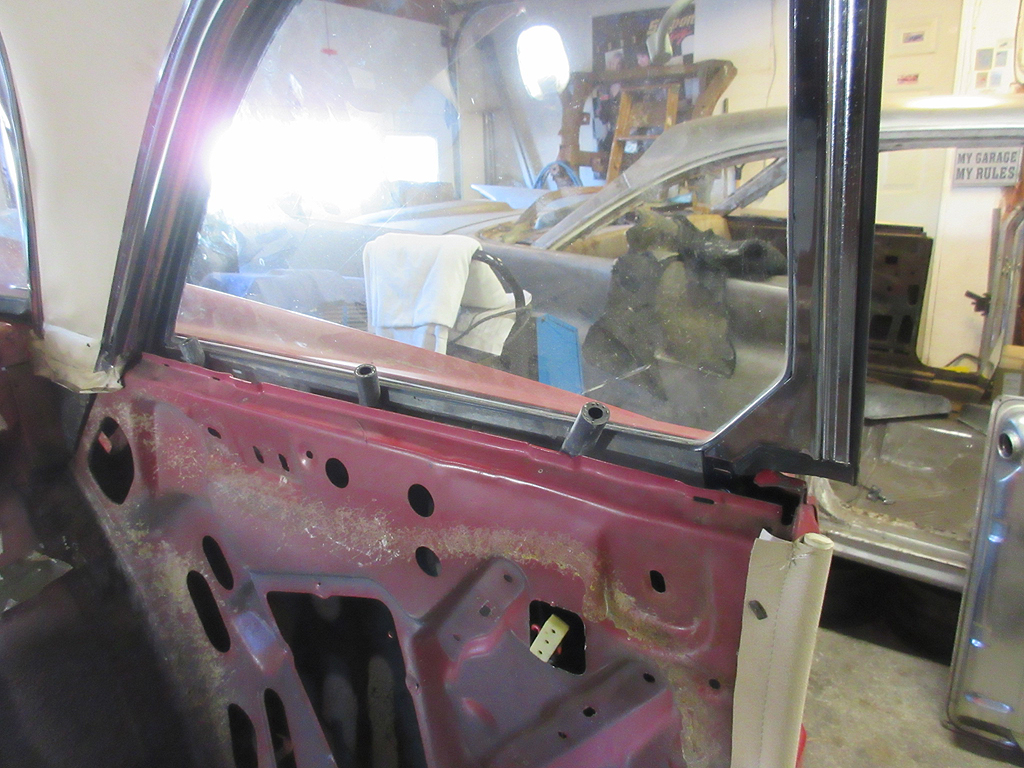
Picture 2 shows the glass all the way down into the quarter. The down stop has been removed to allow installation of the new cat whiskers. You can just see the two top bolts of the reinforcement. The bottom 2 are slotted for adjustment.
|

|
Picture 3 shows the glass all the way up into the weather strip. The rubber tubing holds it in place so this can be a one man job. They have to be pretty tight, as the window is heavy.
|
|
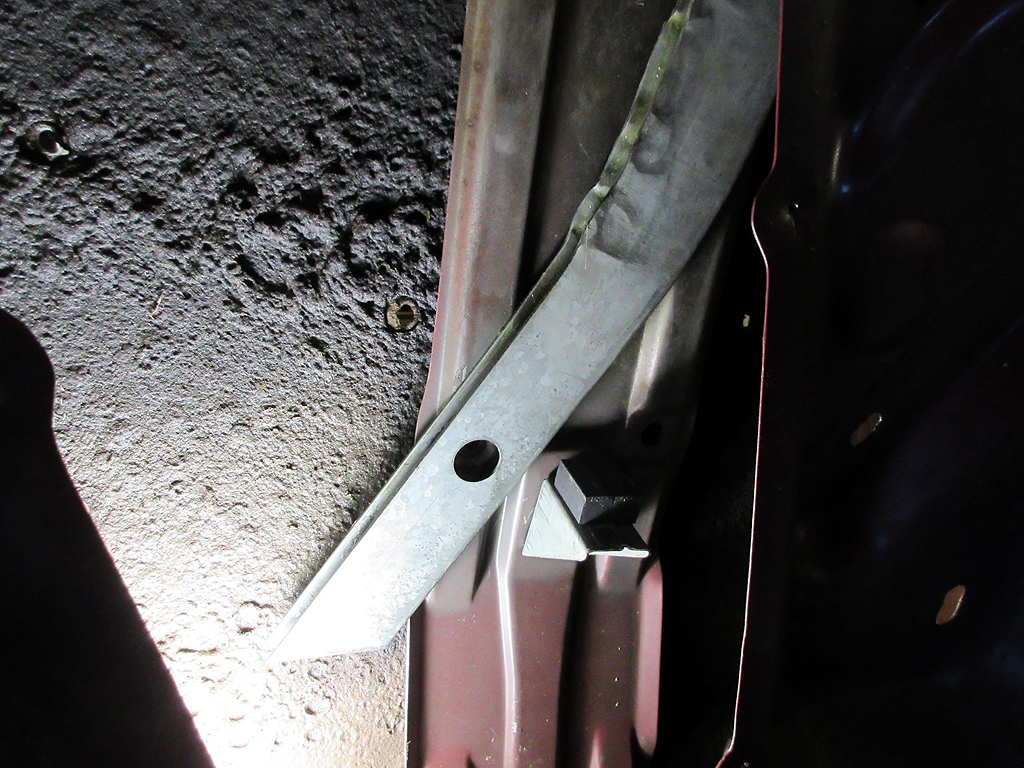
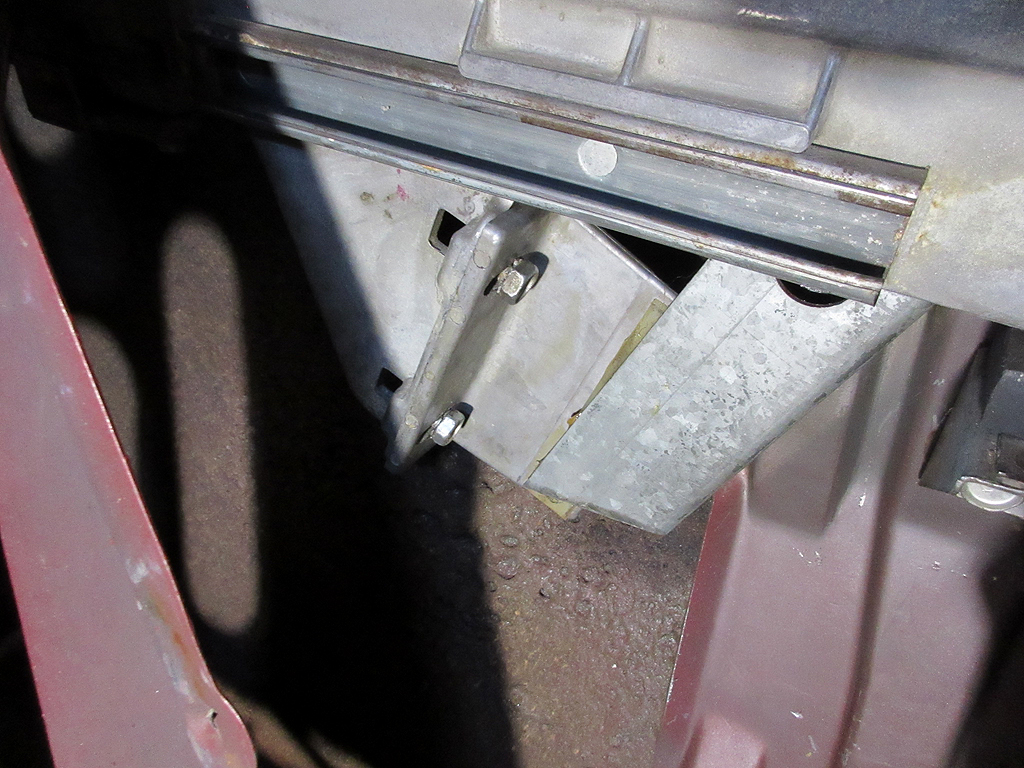
Picture 4 shows the window slide and down stop. They can be installed at this time. there is access in the panel to get at the top screw.
|

|
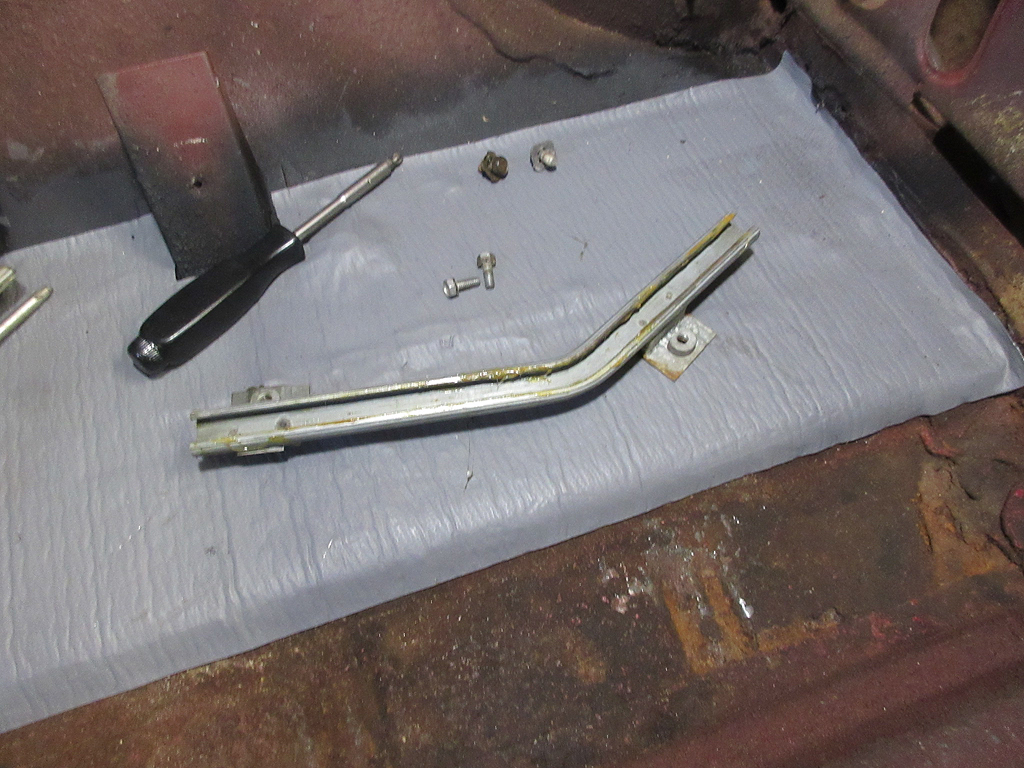
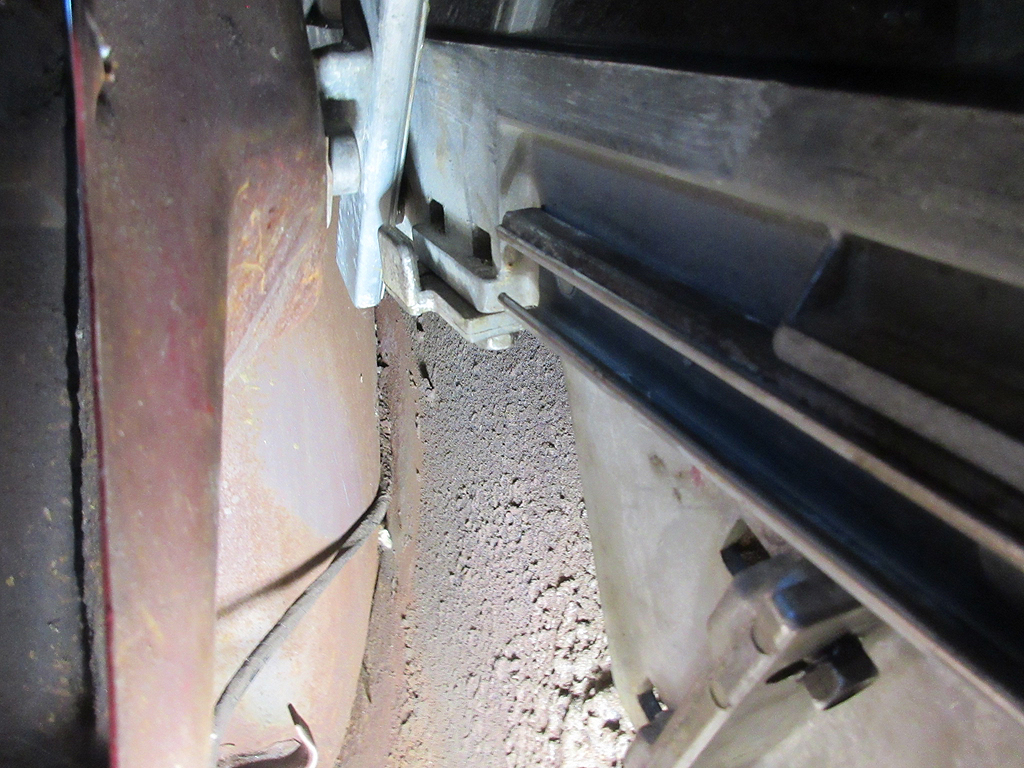
Picture 5 shows them installed. The wrinkle in the slide is a normal part of how they made them. Not the best idea in my opinion.
|
|
Picture 6 is the rear slide. It is easily installed at this point. Lightly grease the slide and install it over the rollers on the glass. Leave the bolts slightly loose.
|
|
Picture 7 shows the front slide installed, and the glass resting on the bottom stop. The front installs as easy as the rear.
|
|
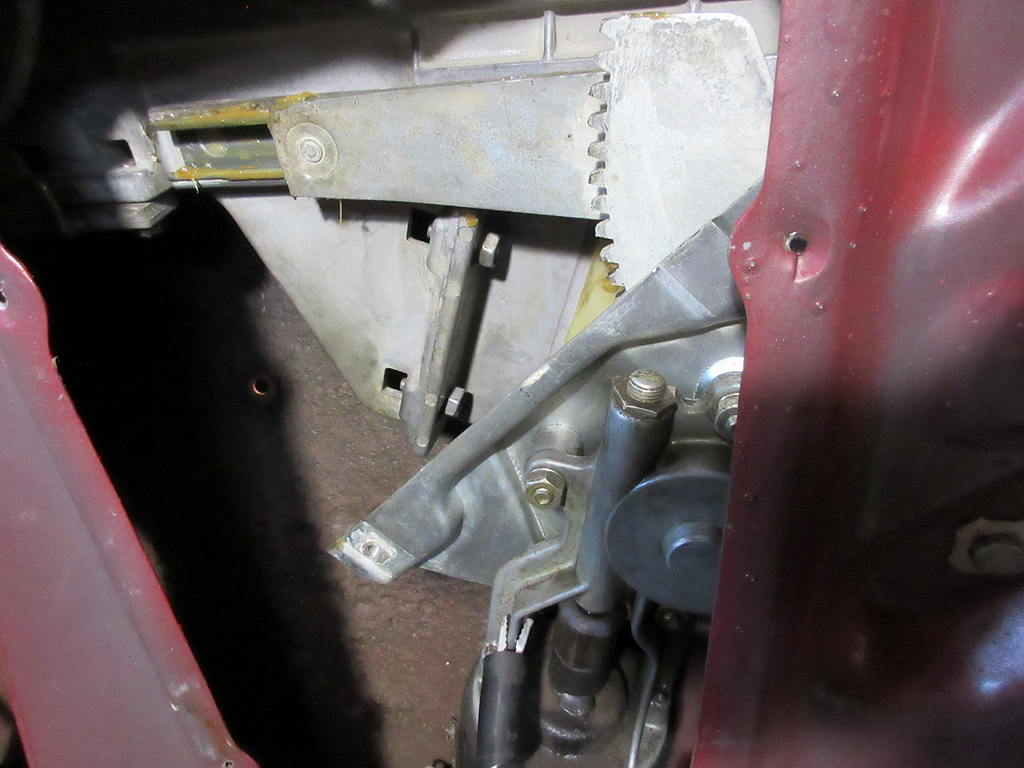
Picture 8. The guide can be installed on the bottom frame now along with the up stop. Leave these loose also. |
|
Picture 9 shows the up stop. The receiver piece that bolts to the upper part of the panel can be re-lined with the same material as the front door rear channel on the 60-64 models.
|
|
Picture 10. Here is the first tricky part. The regulator has to be in approximately this position so it will fit through the opening. The arm has to slide on from the front. To get the bolt holes to line up, the regulator and or the glass will have to be moved around. It can be done alone, but is probably easier with a helper.
|

|
Picture 11. This better shows the position of the regulator.
|
|
Picture 12. Finished install.
|
|
Adjustments.
The guide and the reinforcement control the tilt of the top of the window so it can align with the roof rail. Between the two, there should be enough adjustment to get it right. Those bolts can now be tightened.
The front slide controls how high up the window travel is, and some of the front to back. There is a fine line on this. If it's to high, the glass will hit the weather strip and jamb. If it's to low, the glass rubber will hit the body going up, ruining it in short order. Snug those front bolts down at this time.
The angle of the glass to align with the door glass is controlled by the position of the regulator. An adjustment of this or the front slide may affect the the other, so it's a trial and error thing. The up stop can be adjusted now, which also has some effect on forward position. Match the position of the stop on the bottom of the window track to the one on the door and tighten everything up. The rear track just follows the front, so snug up the top bolt with the window up, and the bottom one with it down. There is no in and out adjustment on the two slides. How tight they are to the outside cat whiskers is controlled by how the inner panel was welded on.
When done, the window should go up and down freely. You may have to trim a little off the bottom of the quarter glass rubber to keep it from snagging the body on the way down. Very little was needed on mine.
|