"How I Do It"
KYB Shock Installation 300K
02/17/2014
|
I'd like to add to the article by Larry Jett on KYB shock
installation.
This installation is a 300K. After installing several sets of KYBs on H's and L's, they all
follow similar procedures, so with practice it gets easier. Keep saying
that long enough and it will come true.
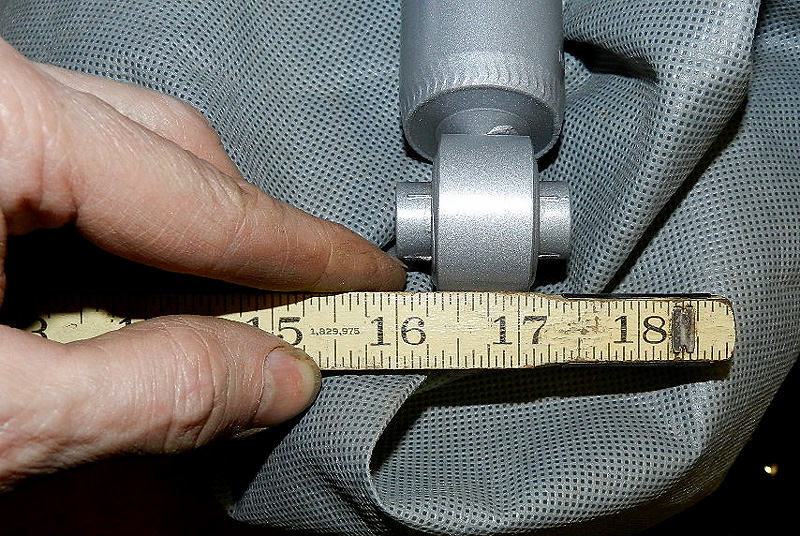
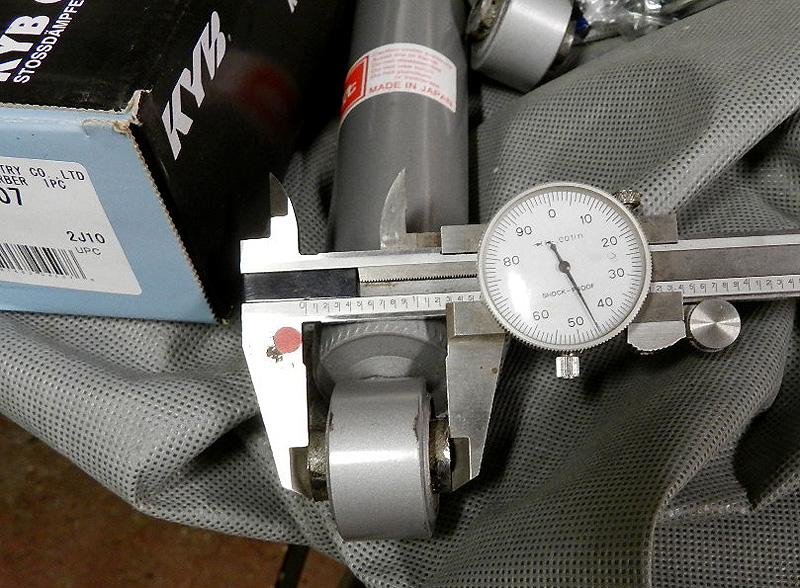
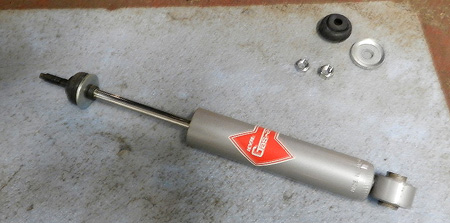
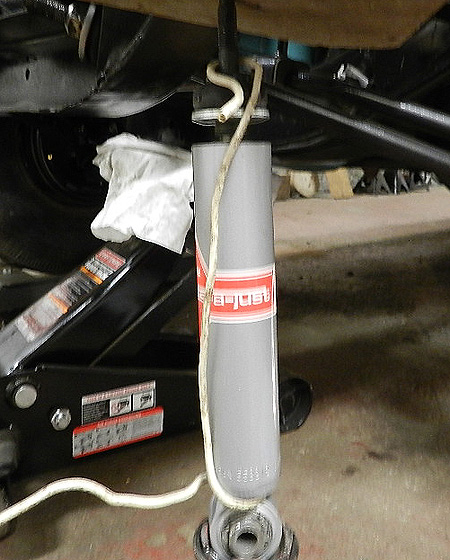
Unlike previous purchases, the KYB KG4507s bought for this car didn't come
compressed and that proved to be a wrestle (for a while).
The picture of the gray shock is the new shock, the picture of the
white shock with a strap is from years ago. The set Larry installed
didn't come compressed, so maybe that is the trend.
|

|
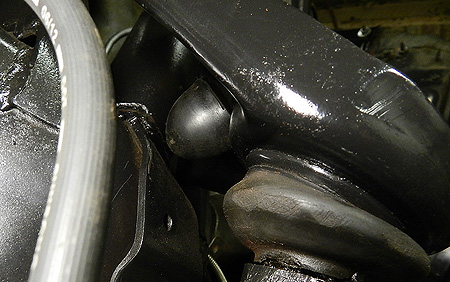
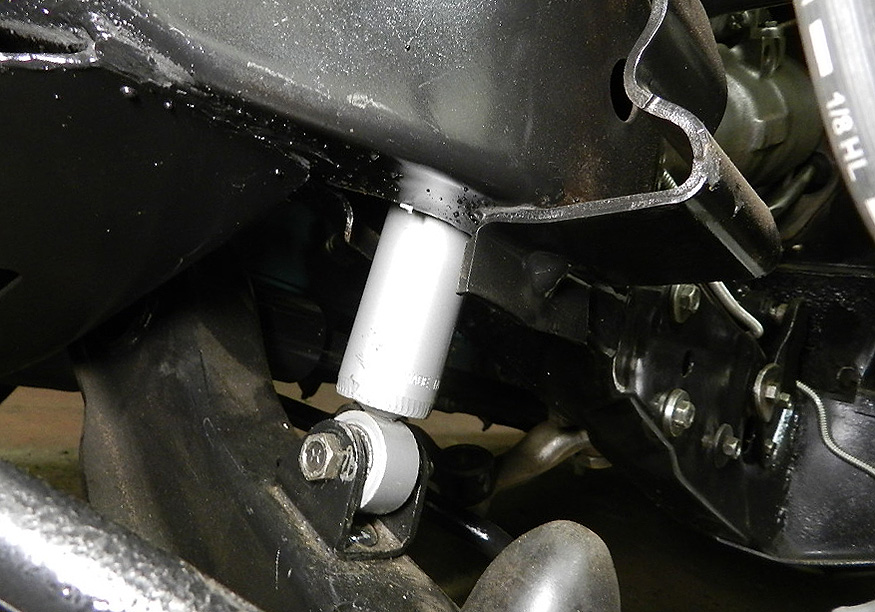
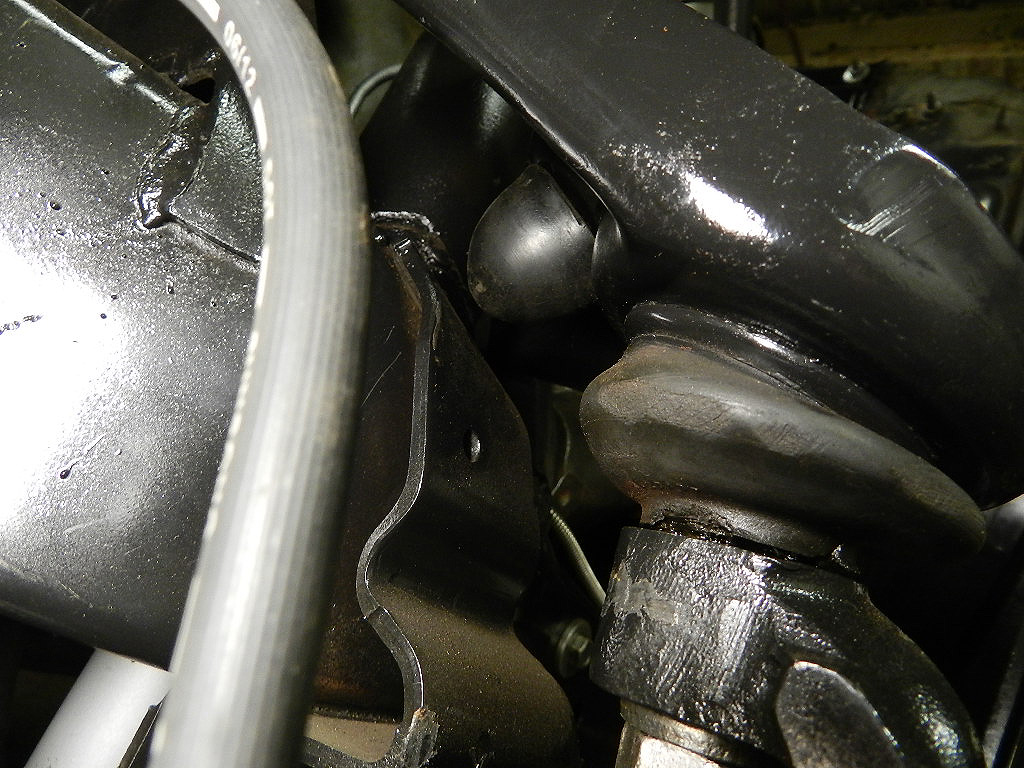
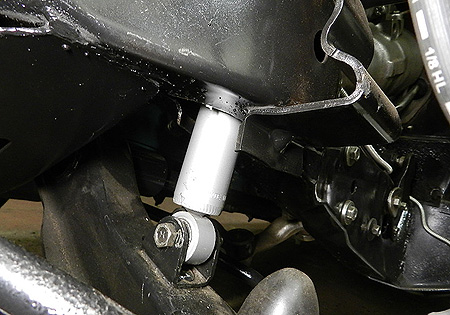
With the new shocks prepared for installation, let's remove the old shocks. One of the
tricks I learned from Don Verity (when Don speaks, listen. You'll always learn something)
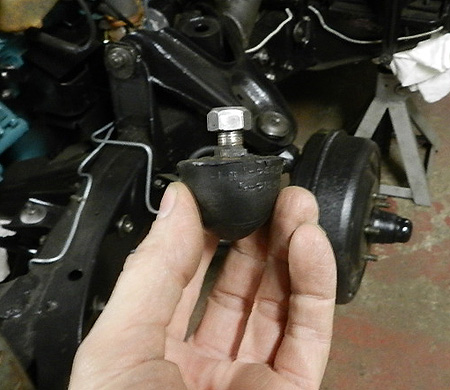
is to remove the upper control arm bumper. Here is a picture of the bumper as you will
find installed
on the control arm.
|
With this little bumper removed, the upper control arm can drop another
inch or so. This means the lower control arm drops another inch or so and
gives you more clearance between the lower control arm and the frame.
This additional working area makes removal of the old shocks much easier
as well as the installation of new shocks.
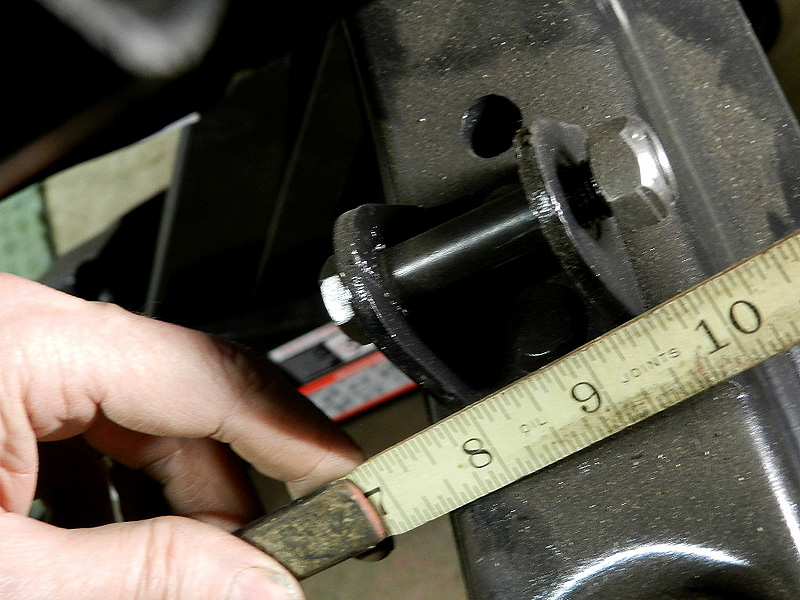
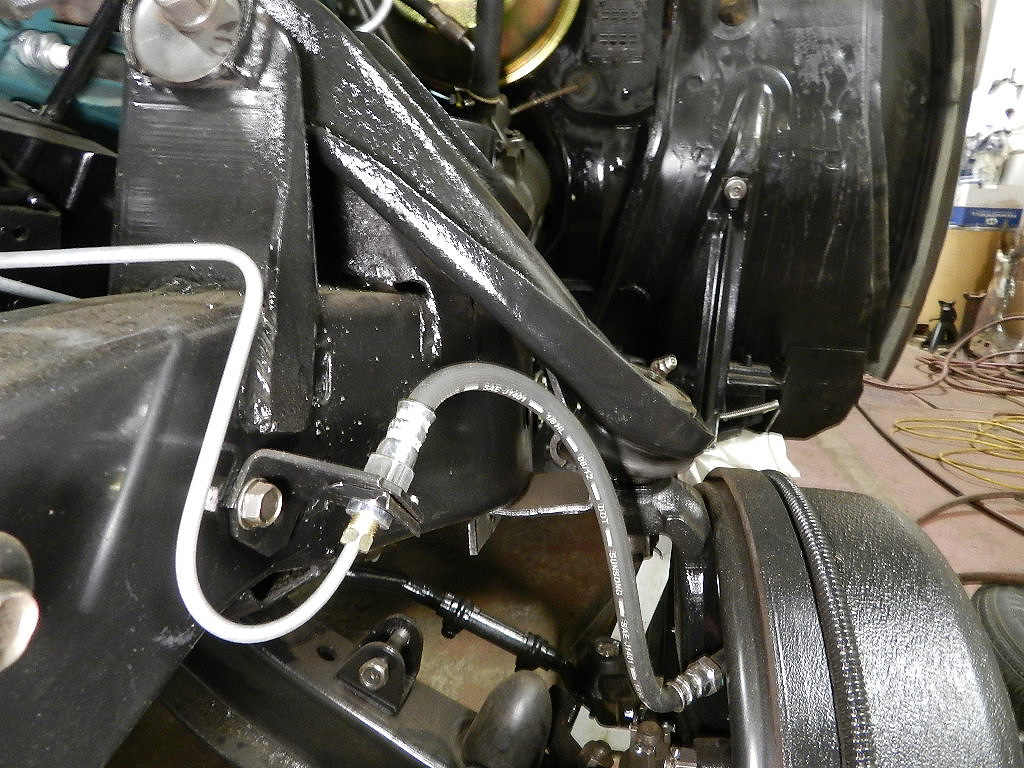
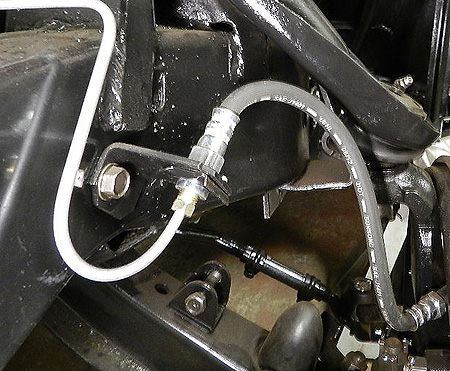
The old shocks have now been removed.
You might be able to tell in this picture (the upper control arm bumper has been removed) that
the space has increased. You now have more room to work getting the new shock up
into the "chimney" for the upper shock mount.
|
|
Time to compress the new KYB shock and restrain it in the compressed position.
I like Larry Jett's suggestion to use several 36 inch plastic zip ties as shown.
|
|
|
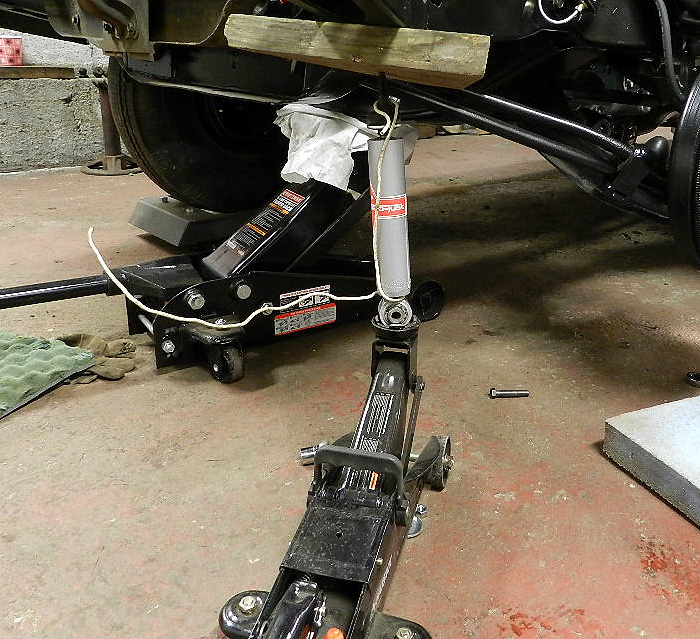
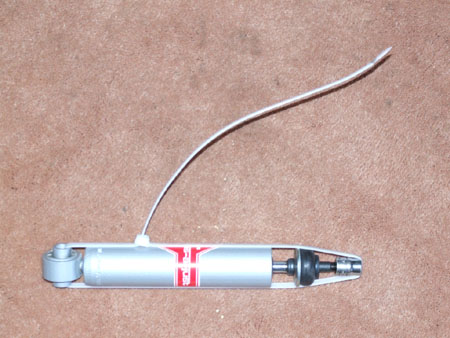
I didn't have zip ties (well, I did but I couldn't find them) so I
used a length of solid wire. A small jack (enlarge the picture
to see the small jack) compressed the shock
and held it steady so the wire could be installed to hold the shock compressed.
With the shock compressed and as compact as possible, it was a snap
to maneuver it into the frame, into the upper mount receiver, and
into the lower control arm mount. Install the upper shock mount pieces,
clip the wire, install the lower control arm mount bolt, re-install
the upper control arm bumper and you are ready for the other side.
|
|
Back
|
|