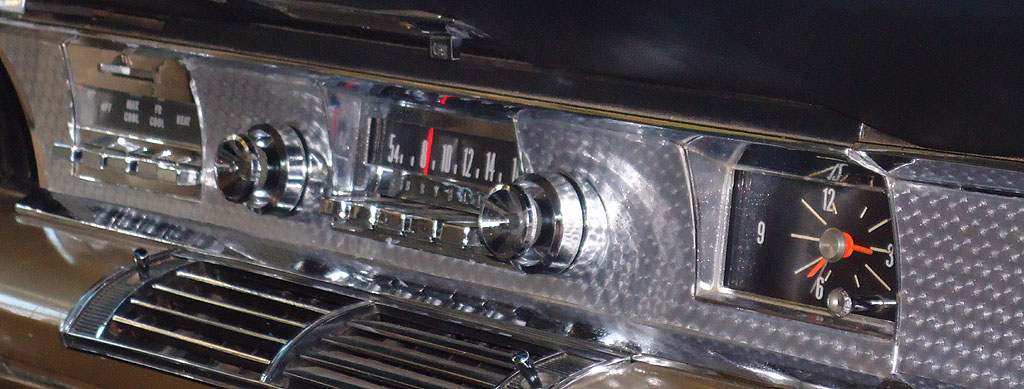
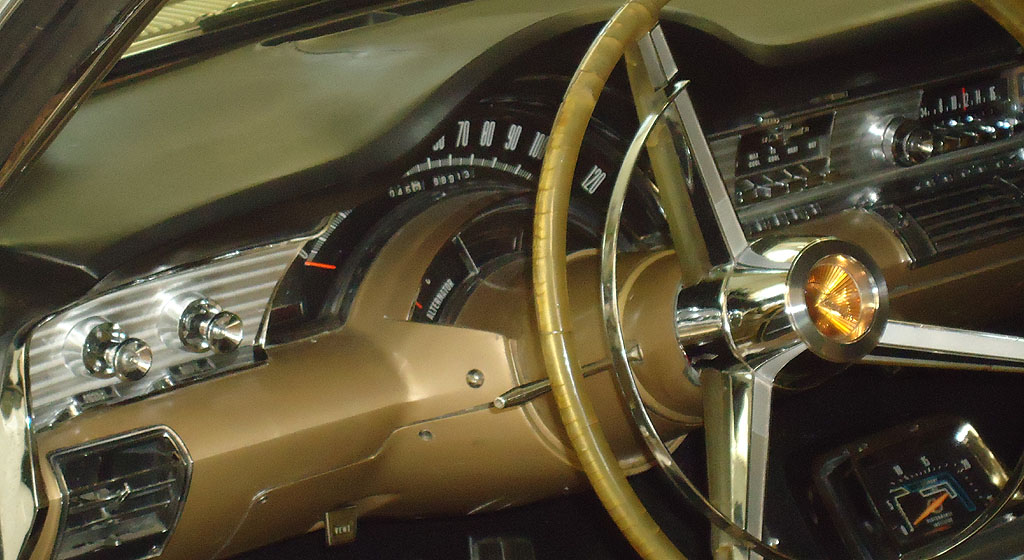
Installed a replica dash in a 300L
My
L is not a show car. It is becoming a reliable road car, and year
before last I drove it across N.H. (around Mt. Washington) and Vt.,
and ferried across Lake Champlain to make the Fall Meet at Lake
George. The car performed well, and got lots of looks. Messrs.
Merritt, Miklas and Verity went to dinner in it, and on the way we
examined and discussed the dashboard.
As
far as I knew, the dash in my L was as good as anybody else’s—but
I was soon corrected. My dash was plain aluminum, no pattern, no
shine, no nothin’. My riders all knew there was supposed to be
a pattern, and we thought it might be the same as the engine turning
design on the rear, above the bumper. And, one of them brought some
feet of an appliqué with a very similar engine turned pattern.
I put some on the right hand side by the glove compartment. It
looked some good!
When
I got back home to and
slathered the whole dash
An original dash looked like it had holographic lines on it, and careful
inspection showed a swirl pattern that created the lines. I took an
original piece to the local machinist, who spends most of his time
making industrial winches for fishing boats, and the thought of
making tiny swirls on aluminum was a challenge he was willing to
undertake.
Several that saw them deemed samples of his swirls on aluminum correct, and
so the technical challenge of recreating correct swirls on .032”
aluminum became the next challenge. The machinist does not have the
equipment to fold and stud the pieces that were originally folded and
studded, but we agreed that the thickness was correct, and that
formerly studded and fastened pieces could now be glued on.
by Doug Mayer
 in that appliqué. I thought it looked pretty nifty. It was
only after I’d finished slathering that research suggested that
the real pattern was different.

As you can see the centerpiece as seen
from the rear is folded over along the bottom and top, and there are
four studs along the bottom and three along the top (which I simply
drilled out.)
The right hand piece and the centerpiece were both attached with studs
welded to the aluminum and then a pal nut. The only way to get to
some of those studs/nuts is to remove the entire dash assembly, and I
chose not to do that.
The right side popped off with a narrow but wide bladed screwdriver; I
took what nuts I could off the centerpiece, but then drilled from the
front side to release the studs on the top and by the instrument
cluster bottom. The studs that I drilled out were attached to nuts
that were inaccessible without removing the whole shooting match.
The new pieces that I used have no folds, except for the arch at the top
of the glove box piece. I was worried about how these pieces would
look in place, but I am satisfied that they look as before they were
removed.
The right hand piece, to the right of the glove box is held in place by
JB Weld, and is likely there for the duration. The glove box is held
by the bezel at its bottom, and the hook over the top. The
centerpiece did not want to hold with a batch of JB Weld, which I
probably made incorrectly, so I used silicone. Of course the radio
knobs also hold it in place. The left hand piece is held in place by
the light and wiper switches, and is a bear to put on, since there
are few threads available for the wiper knob. A four-prong radio
antenna wrench is advised for the installation of the center and left
hand pieces; it makes getting the nuts threaded very much easier.
The whole dash has a curve, top to bottom, and the machine shop will bend
the pieces to approximately correct; I had some re-bending to do to
get them to fit a bit better. The material we used is a harder
aluminum, with more manganese than the original. It should hold the
pattern better than the original. I clear coated each piece a quick
coat or two, and would recommend doing that.
The result:


If you are interested in purchasing these replica dash pieces,
contact Doug Mayer at mobydoug@myfairpoint.net
Back